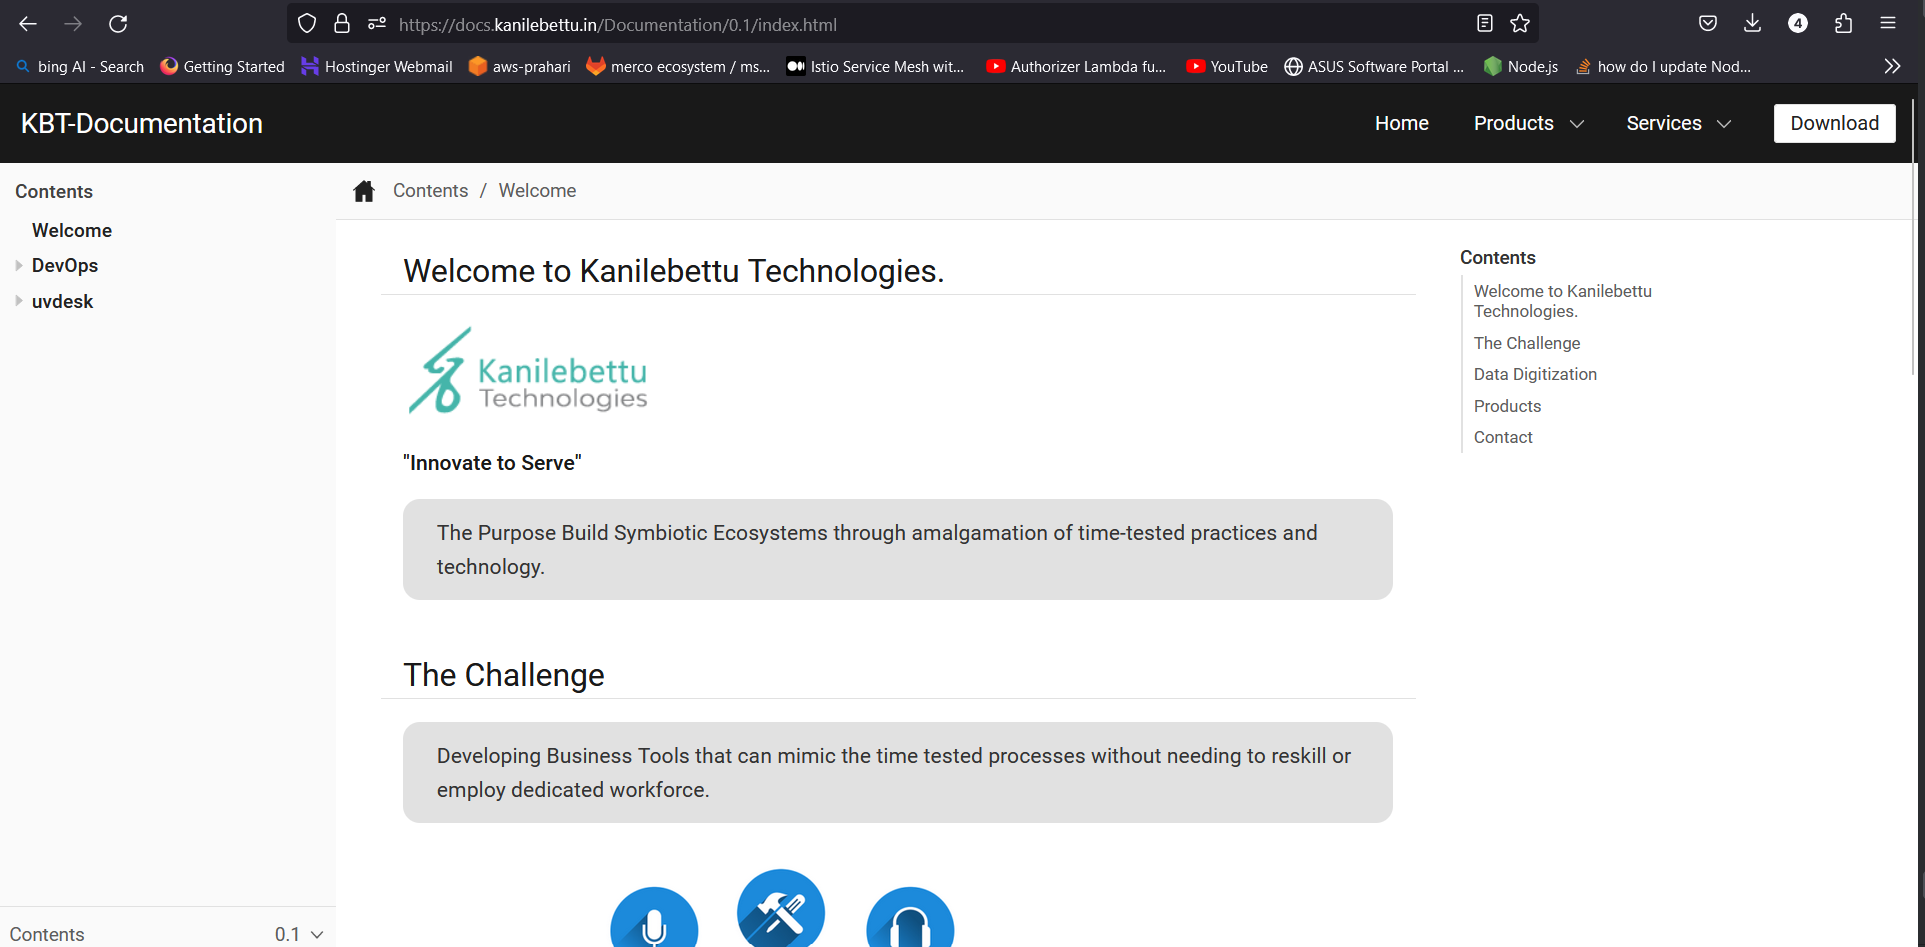
Setting Up CloudFront to Serve HTTPS Requests for kbt-Documentation Using Amazon S3 Bucket
Introduction
This document provides a detailed guide on how to configure Amazon CloudFront to serve HTTPS requests for the kbt-Documentation hosted in an Amazon S3 bucket. HTTPS ensures secure communication between the client and the server, encrypting the data in transit.
Prerequisites
-
An Amazon S3 bucket containing the kbt-Documentation files using Antora.
-
An AWS account with necessary permissions to configure CloudFront and S3.
-
A registered domain name (e.g.,
example.com) using Amazon Route 53 or any other domain registrar.
Steps
Step 1: Create an Amazon S3 Bucket
-
Log in to the AWS Management Console.
-
Navigate to Amazon S3 service.
-
Create a new S3 bucket named
docs.kanilebettu.in. -
Upload your website files to the bucket using Antora.
Step 2: Configure S3 Bucket for Website Hosting
-
Select the
docs.kanilebettu.inbucket. -
Go to the "Properties" tab.
-
Choose "Static website hosting."
-
Select "Use this bucket to host a website."
-
Set the index document to
index.htmlor your preferred default file. -
Save the changes.
Refer this page to achive setup setp 1 and setp 2 Host a Static Website using S3 bucket.
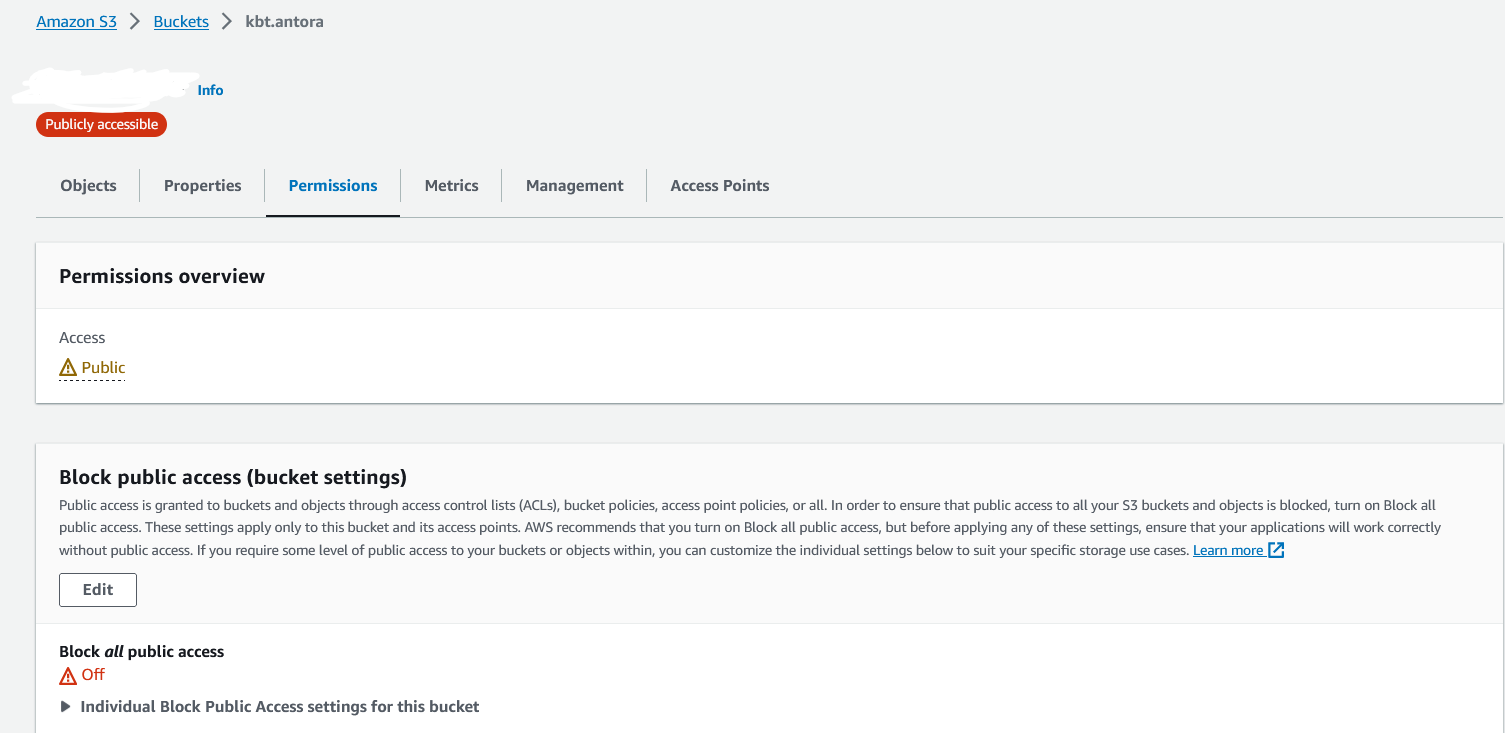
Step 3: Create an SSL Certificate in AWS Certificate Manager
-
Open AWS Certificate Manager service.
-
Request a new public certificate for your domain name (e.g.,
example.com). -
Complete the validation process for the certificate.

Go to the Amazon CloudFront Service:
-
Open the AWS Management Console.
-
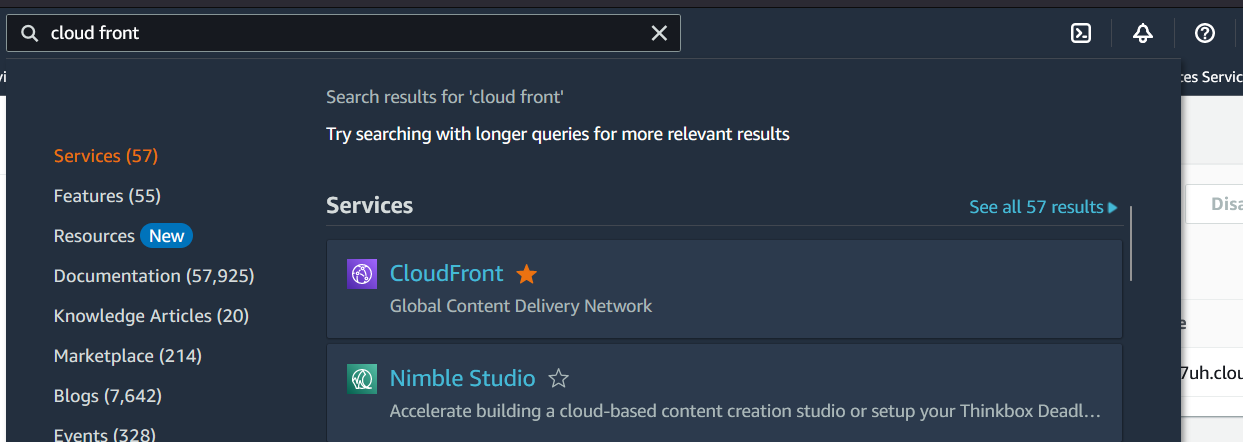
Navigate to the Amazon CloudFront service by searching for "CloudFront" in the AWS services search bar.
Click "Create Distribution":
-
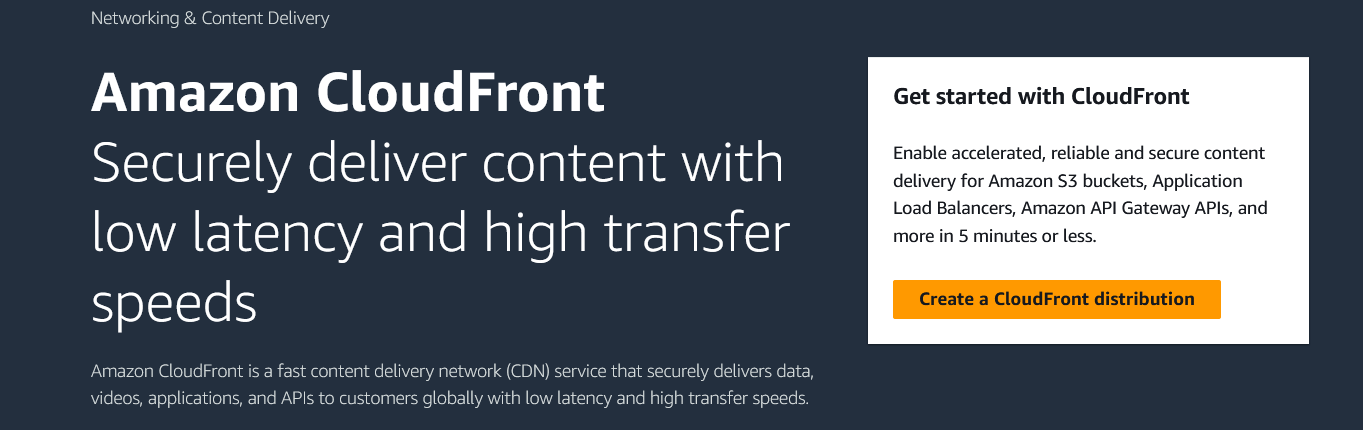
In the CloudFront dashboard, click the "Create Distribution" button to initiate the setup of a new CloudFront distribution.
Configure the Origin Settings:
-
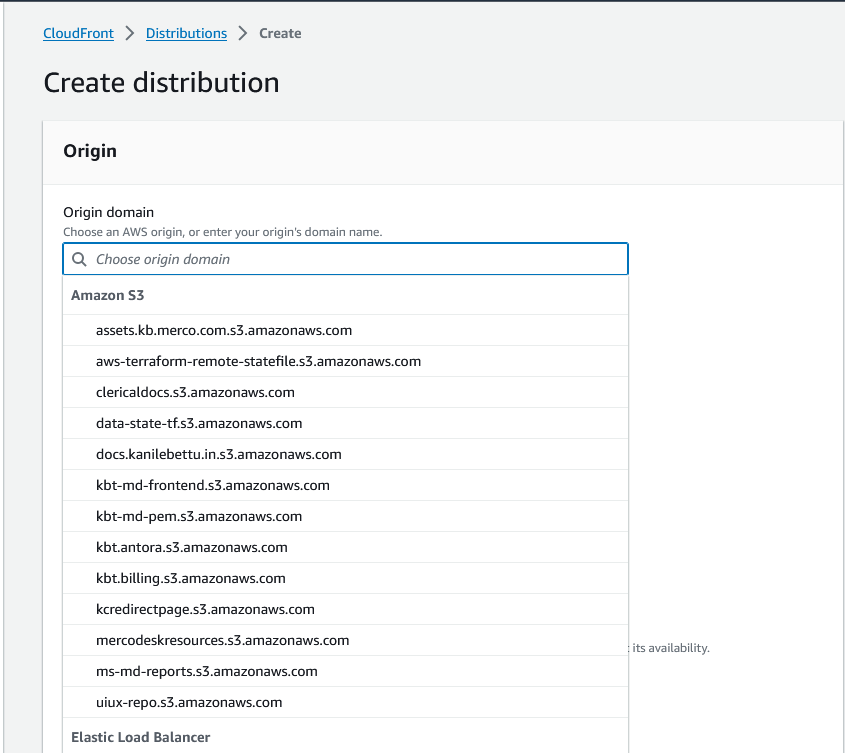
Under Origin, for Origin domain, choose your S3 bucket’s REST API endpoint from the dropdown list. Or, enter your S3 bucket’s website endpoint. For more information, see Key differences between a website endpoint and a REST API endpoint.
-
Origin Domain Name: Set the
Origin Domain Nameto the endpoint of your Amazon S3 bucket where your website content is stored (e.g.,kbt-Documentation.s3.amazonaws.com). CloudFront will fetch content from this S3 bucket. -
Origin Path (Optional): If your files are stored in a specific directory within the S3 bucket, specify the path here.
| Ensure that your S3 bucket permissions are correctly configured to allow CloudFront to access the objects. |
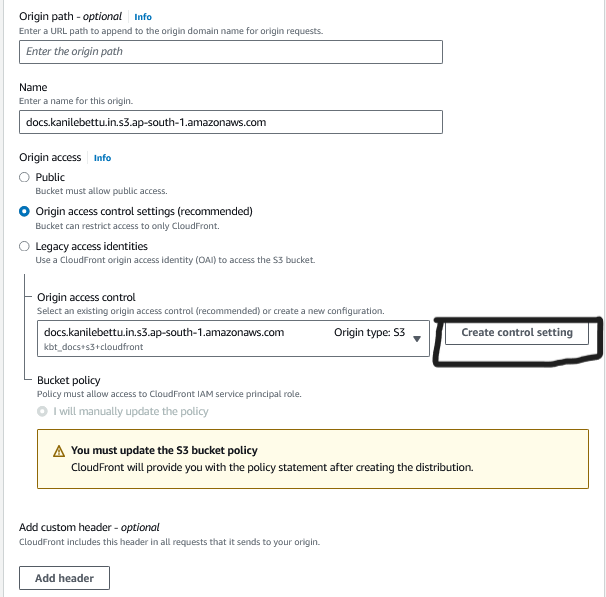
Configure OAC(origin access control) for secure connection:
-
In the Origin configuration section, select an S3 origin from the Origin domain drop-down list.
-
if you are not created OAC click
Create Contorl Settingand select s3 bucket
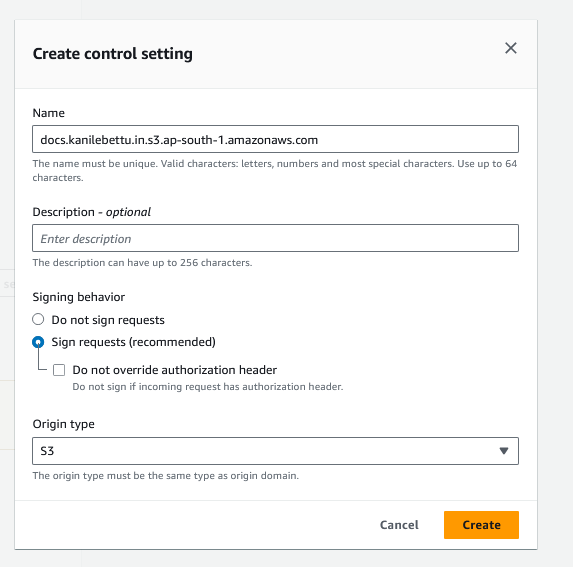
you will get policy later on after create Distribution i will let you on that point.
| you must copy update the policy to s3 bucket for secure connection. |
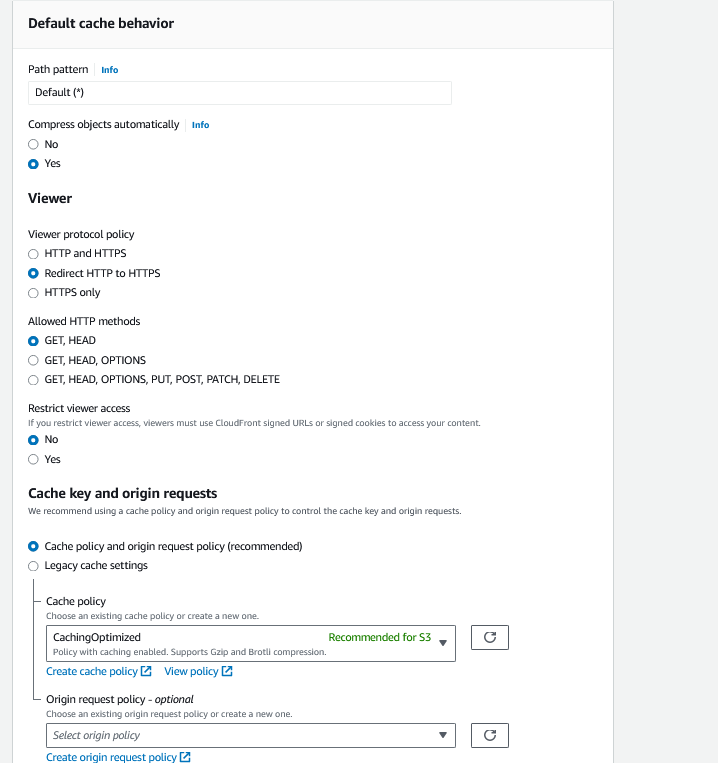
Configure Default Cache Behavior:
-
Set other options like "Viewer Protocol Policy" to "Redirect HTTP to HTTPS" to enforce HTTPS for secure communication between clients and CloudFront.
Alternate domain name (CNAME) with CloudFront:
-
For Alternate Domain Names (CNAMEs), choose Add item, and then enter your alternate domain name.
-
For Custom SSL Certificate, choose the custom SSL certificate from the dropdown list that covers your CNAME to assign it to the distribution.
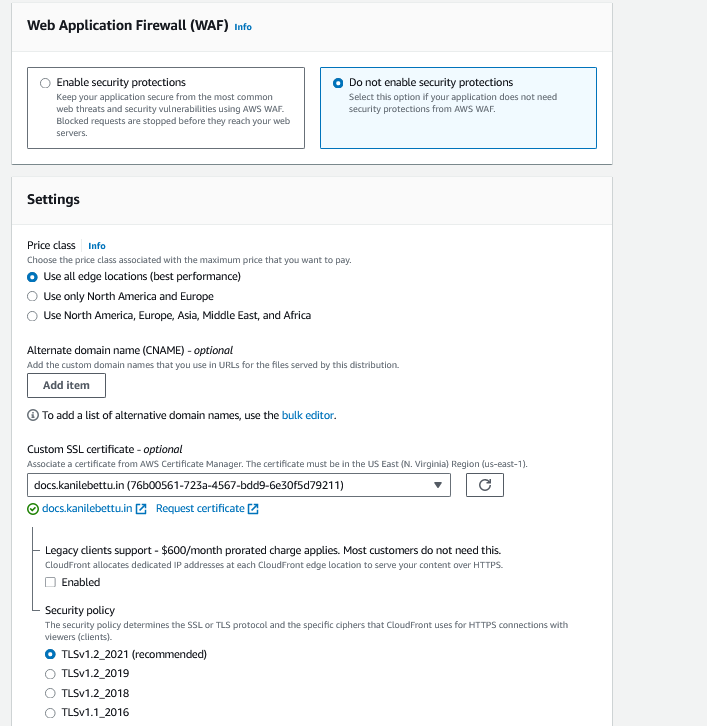
| For more information on installing a certificate, see How do I configure my CloudFront distribution to use an SSL/TLS certificate? |
Review and Create:
-
Review all the settings to ensure they are accurate.
-
Click the "Create Distribution" button to create the CloudFront distribution.
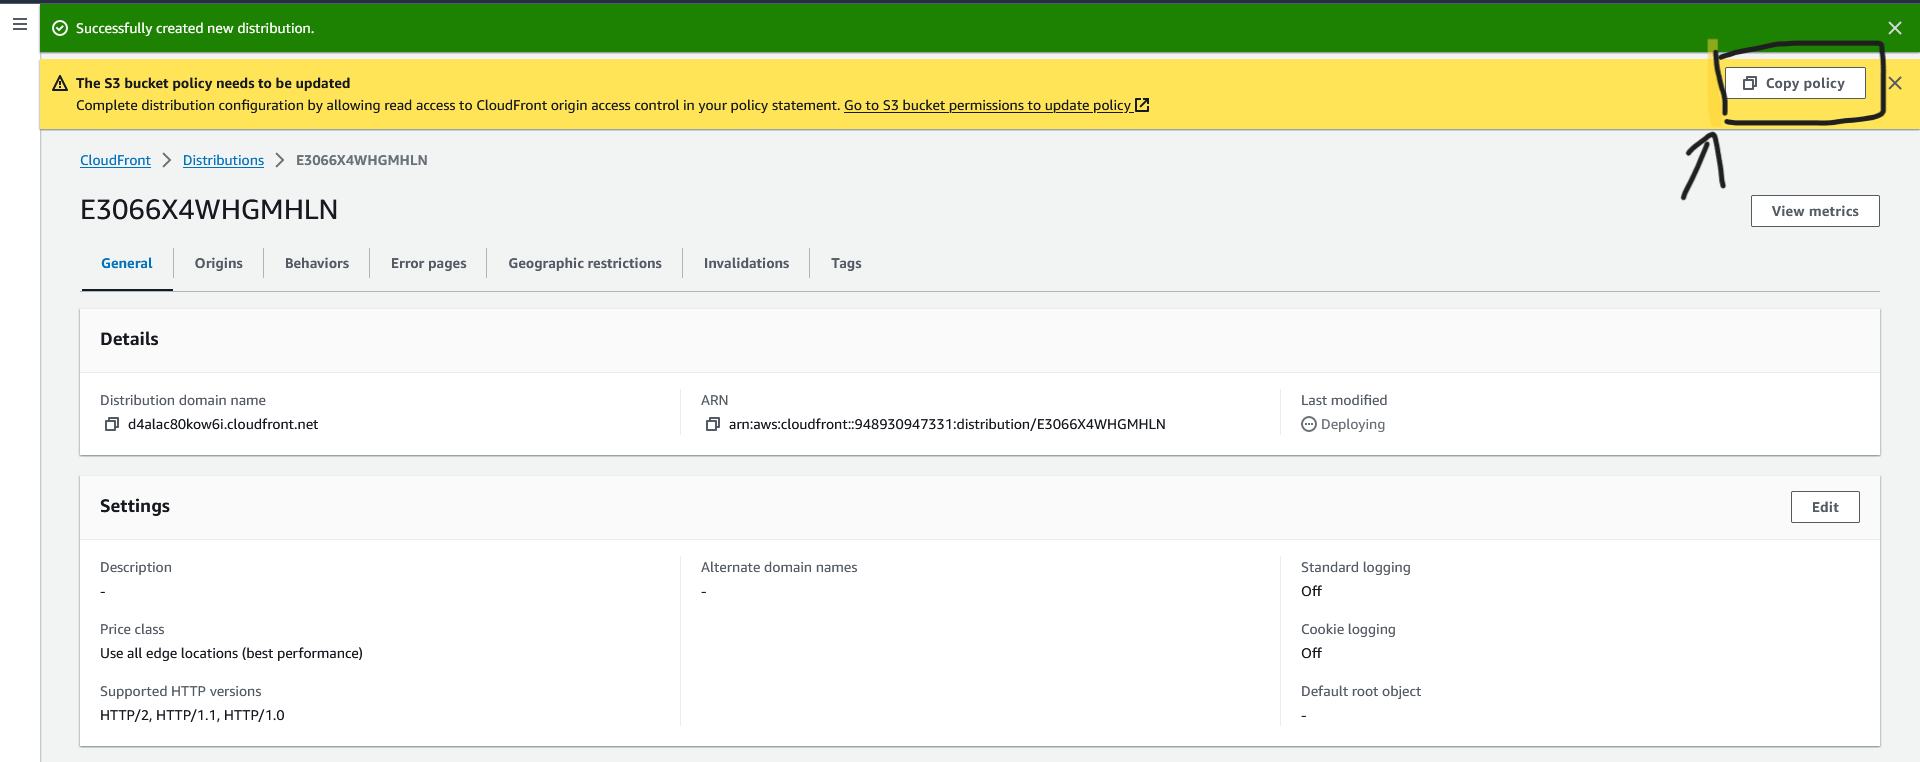
-
you need to copy policy and past in to s3 bucket
Permissionstab here this policy will allow to access only from cloud front distribution.
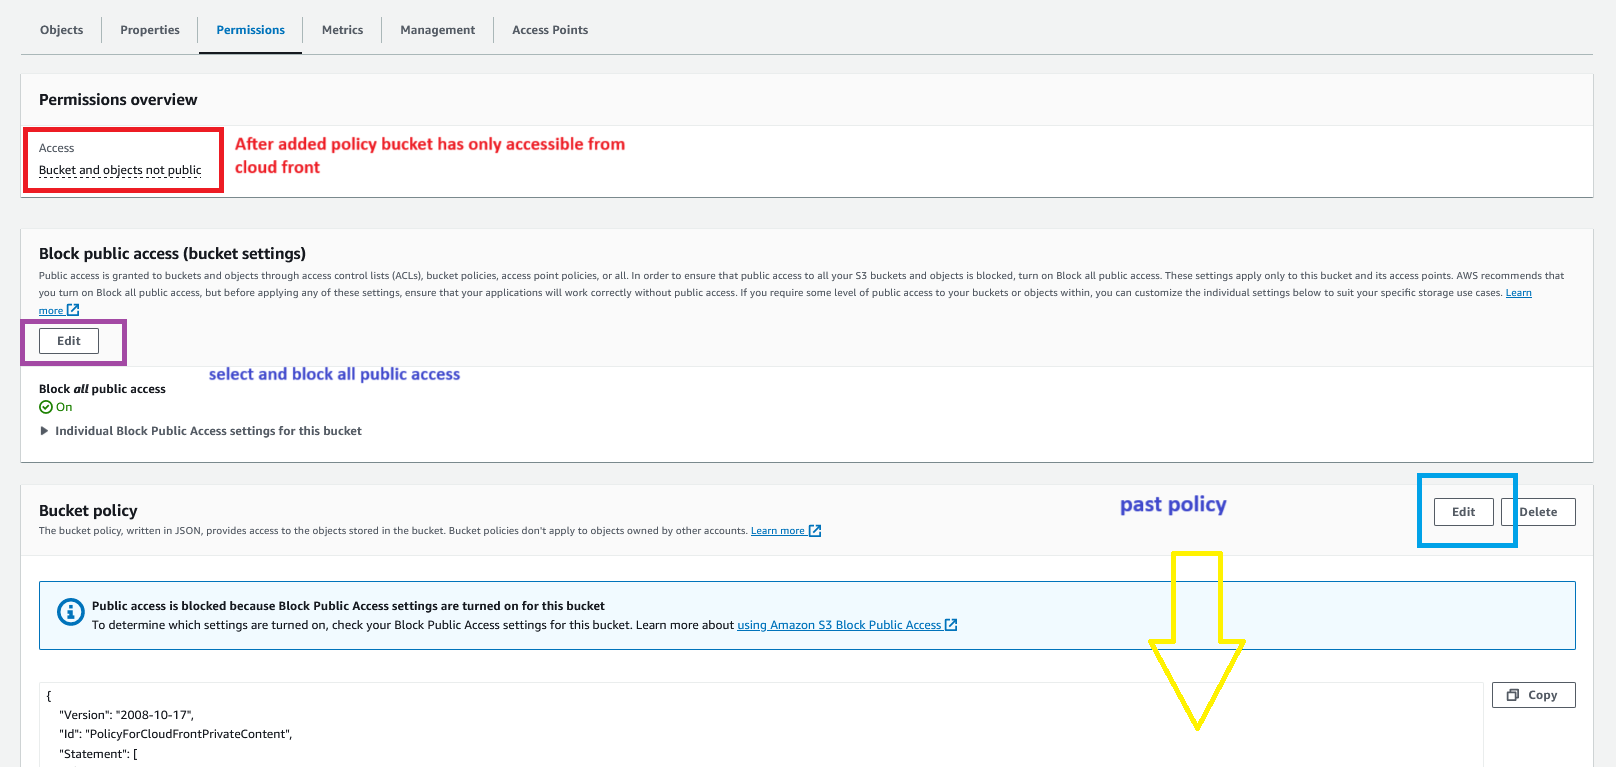
Wait for Distribution Deployment:
-
CloudFront may take some time to deploy the distribution and propagate the changes globally. Monitor the CloudFront dashboard until the distribution status changes to "Deployed."

Note Down CloudFront Domain Name:
-
Once deployed, note down the CloudFront domain name (e.g.,
d12345abcdef.cloudfront.net). This domain will be used to access your website via CloudFront.
|
Always ensure that you secure your CloudFront distribution and AWS resources with appropriate access controls and permissions. |
Step 5: Update DNS Records:
-
Be sure to update the DNS for your domain to a CNAME record that points to the CloudFront distribution’s provided domain. You can find your distribution’s domain name in the CloudFront console.
-
If you use Amazon Route 53 as your DNS provider, then see Configuring Amazon Route 53 to route traffic to a CloudFront distribution.
-
If you use another DNS provider, then you can create a CNAME record (www.example.com CNAME d111111abcdef8.cloudfront.net) to point to the distribution’s domain.
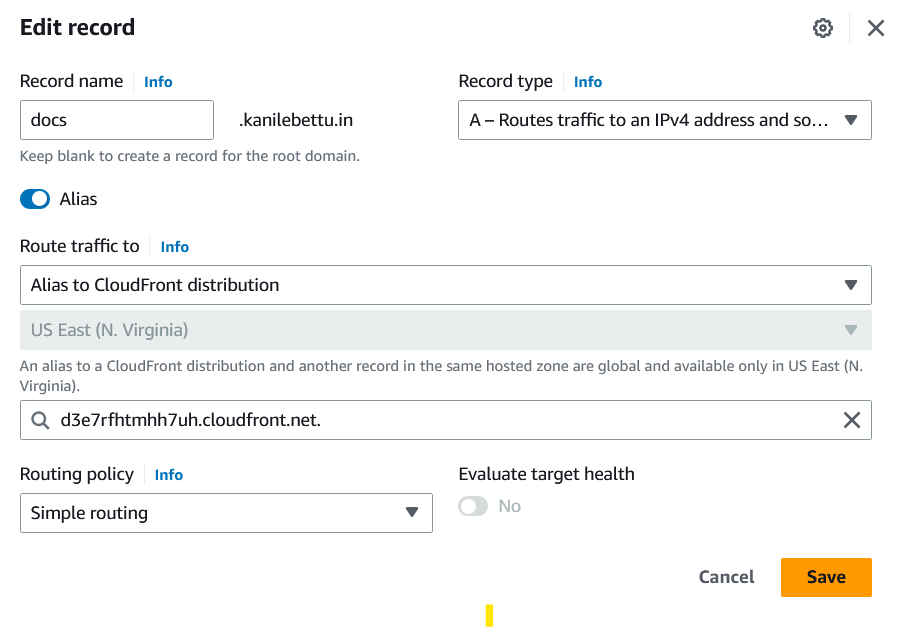
| DNS standards require that an apex domain (example.com) use an authoritative (A) record that maps to an IP address. You can point your apex domain to your CloudFront distribution only if you’re using Route 53. If you’re using another DNS provider, then you must use a subdomain (www.example.com). |
Step 6: Check your DNS Name :
Click the below link to get kbt-Documentation.
https://docs.kanilebettu.in