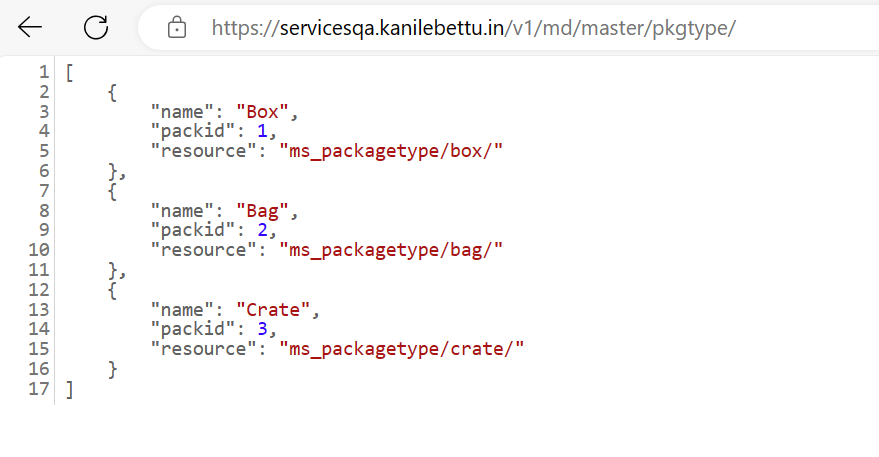
GitOps on Gitlab using FluxCD for nginx
2. Introduction
GitOps is a Kubernetes application delivery methodology. It aims to simplify the deployment and operation of Kubernetes applications.
Flux, which can be installed as a Kubernetes operator.
The Flux operator keeps the cluster state and a repository in sync. Any configuration change made in the repository is automatically applied to the Kubernetes cluster.
3. Created a kubernetes cluster using terraform and connect to it using the command,
aws eks update-kubeconfig --region ap-south-1 --name sample --profile default
4. Install fluxctl
For linux OS,
curl -s https://toolkit.Fluxcd.io/install.sh | sudo bash
For windows OS,
choco install fluxctl (chocolatey installed already)
check whether the fluxctl is installed correctly using the command,
$fluxctl version
1.25.4
5. Create a Kubernetes namespace for Flux
Creating a namespace for the Flux operator.
kubectl create namespace flux
6. Generate Flux manifest files
fluxctl tool is used to generate the Kubernetes manifest files for the Flux operator using the command.
fluxctl install --git-url=git@gitlab.com:saranya18/fluxctl.git --git-user=saranya --git-email=saranya.t@kanilebettu.com --git-path=namespaces,workloads --namespace=flux > flux.yaml
8. Verify deployment
Verify the deployment by checking the status Kubernetes pods in the flux namespace.
There should be the Flux operator as well as a Memchached instance, which is used by the operator to keep some internal state.

9. Retrieve SSH key via fluxctl
Flux connects to the Git repository using an SSH key.It generates the key on initial startup. Retrieve the public SSH key via the fluxctl cli.
fluxctl identity --k8s-fwd-ns flux
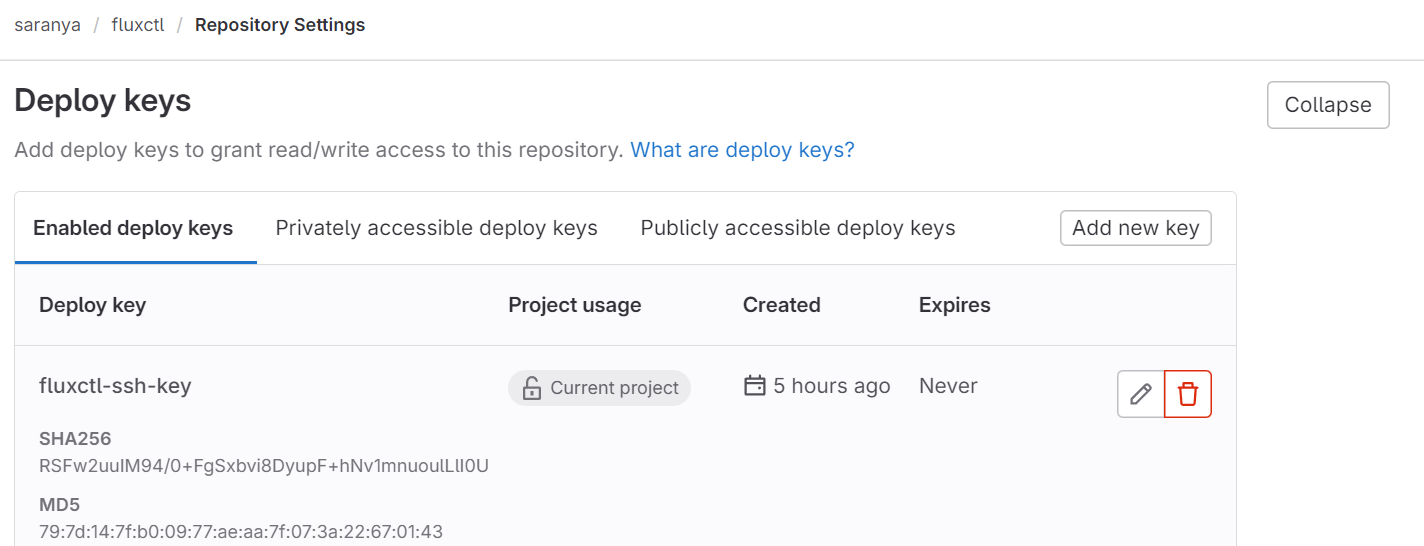
10. Add SSH key to the Deploy Keys of the Gitlab repository
Open Gitlab, navigate to your project, go to Settings → Repository → Deploy Keys and add the SSH key retrieved from fluxctl. Make sure to check Write access allowed.
11. Clone the git repo & create folder for manifest files,
Use VSCode to clone the repository to the local machine and cd into the directory.
git clone git@gitlab.com:saranya18/fluxctl.git
cd fluxctl
mkdir namespaces workloads
12. Create Kubernetes manifest file for the demo namespace & master deployment
-
Create demo-ns.yaml inside namespaces directory and the yaml file as,
apiVersion: v1
kind: Namespace
metadata:
  labels:
    name: demo
name: demo-
create nginx-deploy.yaml under workloads directory and paste the content as,
---

apiVersion: apps/v1
kind: Deployment
metadata:
  name: master
  namespace: demo
  labels:
    app: master
spec:
  selector:
    matchLabels:
      app: master
  replicas: 2
  strategy:
    rollingUpdate:
      maxSurge: 25%
      maxUnavailable: 25%
    type: RollingUpdate
  template:
    metadata:
      labels:
        app: master
    spec:
      containers:
      - name: master
        image: 948930947331.dkr.ecr.ap-south-1.amazonaws.com/kbt-md-repo-ecr:ms_md_master-V0.0.640
        imagePullPolicy: Always
        env:
          - name: KB_CERTS
            value: xxxxxxxxxxxxx
          - name: KB_CLIENT_ID
            value: yyyyyyyyy
          - name: KB_CLIENT_SECRET
            value: zzzzzzzzz
          - name: KB_IAM_HOSTNAME
            value: kbiam.kanilebettu.in/auth
          - name: KB_MD_ADMIN_PASSWORD
            value: *__*
          - name: KB_MD_ADMIN_USER
            value: *__*
          - name: RDS_DB_NAME
            value: mercodesk
          - name: RDS_HOSTNAME
            value: x.y.z
          - name: RDS_PASSWORD
            value: xxxxx
          - name: RDS_PORT
            value: aaaa
          - name: RDS_USERNAME
            value: bbbb
        resources:
          requests:
            memory: "200Mi"
            cpu: "250m"
          limits:
            memory: "400Mi"
            cpu: "400m"
        livenessProbe:
          httpGet:
            path: /v1/md/ms/health/
            port: 3030
          initialDelaySeconds: 30
          periodSeconds: 30
          timeoutSeconds: 10
        readinessProbe:
          httpGet:
            path: /v1/md/ms/health/
            port: 3030
          initialDelaySeconds: 30
          periodSeconds: 5
          timeoutSeconds: 10
        ports:
          - containerPort: 3030
      # imagePullSecrets:
      #   - name: ecr

---

apiVersion: v1
kind: Service
metadata:
  name: master-svc   # Name your service accordingly
  namespace: demo
  labels:
    app: master
  annotations:
    se7entyse7en.prometheus/scrape: "true"
    se7entyse7en.prometheus/scheme: "http"
    se7entyse7en.prometheus/path: "/actuator/prometheus"
    se7entyse7en.prometheus/port: "3030"
spec:
  type: ClusterIP         # Set the service type to NodePort
  ports:
  - port: 80
    targetPort: 3030    # Port your application is listening on
    protocol: TCP
  selector:
    app: master
---
13. Commit & push changes to GitLab repository,
git add .
git commit -m 'Added manifest files for master'
git push origin master
14. verify the deployment
Verify the deployment by checking the status Kubernetes pods in the demo namespace. There should be two master pods running.

15. Install & Configure Istio for the master microservices on k8s cluster
istioctl install --set profile=demo --set values.gateways.istio-ingressgateway.type=NodePort
16. Create service account for ALB
kubectl apply -f C:\Users\Desktop\istio.yaml\istio\service-account-alb.yaml
17. To create Application load balancer in kube-system(istio-alb)
helm install aws-load-balancer-controller eks/aws-load-balancer-controller -n kube-system --set clusterName=sample --set serviceAccount.create=false --set serviceAccount.name=aws-load-balancer-controller
18. Create ALB ingress for istio-gateway and provide appropriate values to each variable and verify ingress is running,
kubectl apply -f C:\Users\Desktop\istio.yaml\istio\gw-ingress.yaml
kubectl get ingress -n istio-system
19. Inject the istio in demo namespace and verify it using the commands,
kubectl label namespace demo istio-injection=enabled --overwrite
kubectl get namespace -L istio-injection
20. Attach these two yaml inside nginx-deploy.yaml, gateway acts as listener & virtual service acts as rules to alb created .
apiVersion: networking.istio.io/v1alpha3
kind: Gateway
metadata:
  name: istio-gateway
  namespace: demo
spec:
  selector:
    istio: ingressgateway
  servers:
    - port:
        number: 80
        name: http
        protocol: HTTP
      # tls:
      #   mode: SIMPLE
      #   credentialName: "tls-secret"
      hosts:
        - "servicesqa.kanilebettu.in"

---


apiVersion: networking.istio.io/v1alpha3
kind: VirtualService
metadata:
  name: backend-servcies
  namespace: demo
spec:
  hosts:
    - "*" # This will match any host header
  gateways:
    - istio-gateway
  http:
    - match:
        - uri:
            prefix: /v1/md/ms/
      route:
      - destination:
          host: master-svc
          port:
            number: 80