Installing AWS CLI version 2 on Windows
To install AWS CLI version 2 on your Windows machine, follow the steps below:
Download the AWS CLI MSI(Microsoft Software Installer) installer:
-
Open a web browser and navigate to the official AWS CLI version 2 download page MSI Installer for AWSCLIV2
-
Click on the "Download" button to save the MSI(Microsoft Software Installer) installer file to your computer.
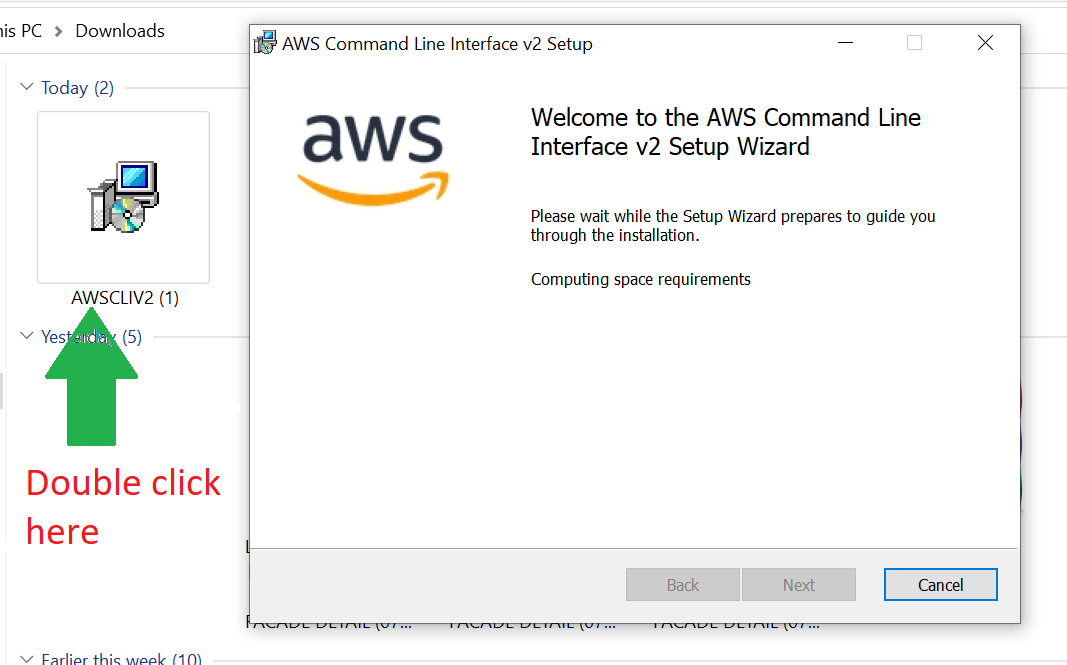
Run the AWS CLI installer:
-
The AWS CLI installer will open a setup wizard. Click on the "Next" button to proceed.
-
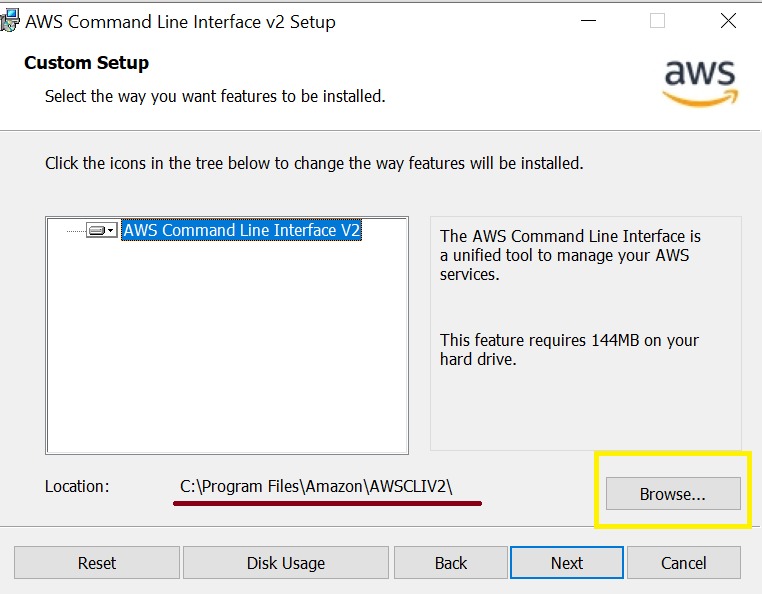
On the "Choose Install Location" screen, you can either accept the default installation directory or specify a different one. Click "Next" to continue.
Complete the installation:
-
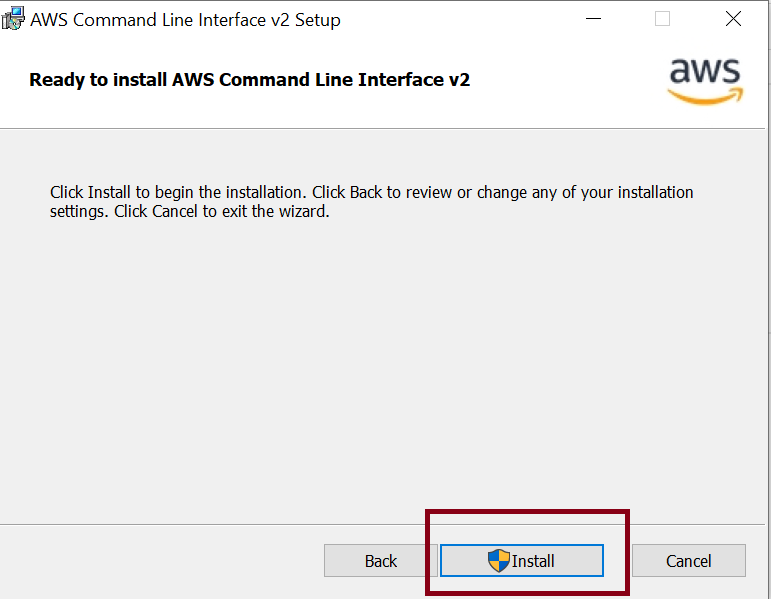
The AWS CLI installer will now install the AWS CLI version 2.
-
Once the installation is complete, you’ll see the "Completing the AWS Command Line Interface V2 Setup Wizard" screen. Click "Finish" to exit the installer.
Configure the AWS CLI:
-
On the "Configuration" screen, you can choose whether to configure the AWS CLI with an AWS access key, secret key, and default region.
-
If you select "Configure AWS CLI later," you’ll need to run the
aws configurecommand in a command prompt or PowerShell window to set up the CLI later.
Verify the installation:
-
Open a new command prompt or PowerShell window.
-
Run the following command to verify that the AWS CLI is installed and accessible:
aws --version-
If the installation was successful, you should see the AWS CLI version number displayed in the command output.
ex:
C:\Users\LENOVO>aws --version
aws-cli/2.9.13 Python/3.9.11 Windows/10 exe/AMD64 prompt/off