EKS Application Loadbalancer
Pre-Requisite:
1.Create the underlying infrastructure (VPC, subnets, route tables, internet gateway, nat gateway, security groups) AWS VPC infrastructure.
2.Create EKS cluster role with policies - AmazonEKSClusterPolicy, AmazonEKSVPCResourceController.
3.Create EKS node group role with policies - AmazonEKSWorkerNodePolicy,AmazonEC2ContainerRegistryReadOnly,AmazonEKS_CNI_Policy.
4.Create the EKS cluster.
5.Create the node group.
Steps to load balance (internet facing) the above application
1.Tag the public subnets with Tag name: kubernetes.io/role/elb; Tag value: 1.
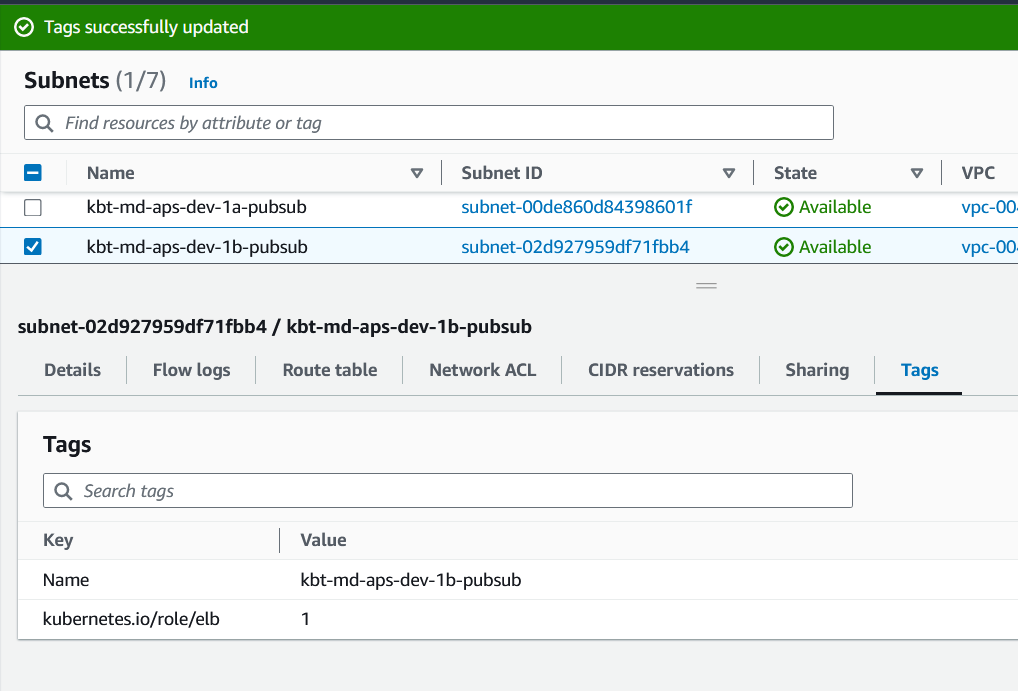
If you want more information about subnet tag refer aws documentation
sunbet tag for public and private.
Create IAM OIDC identity provider for your cluster.
-
Copy OpenID Connect provider URL from your cluster - overview section.
-
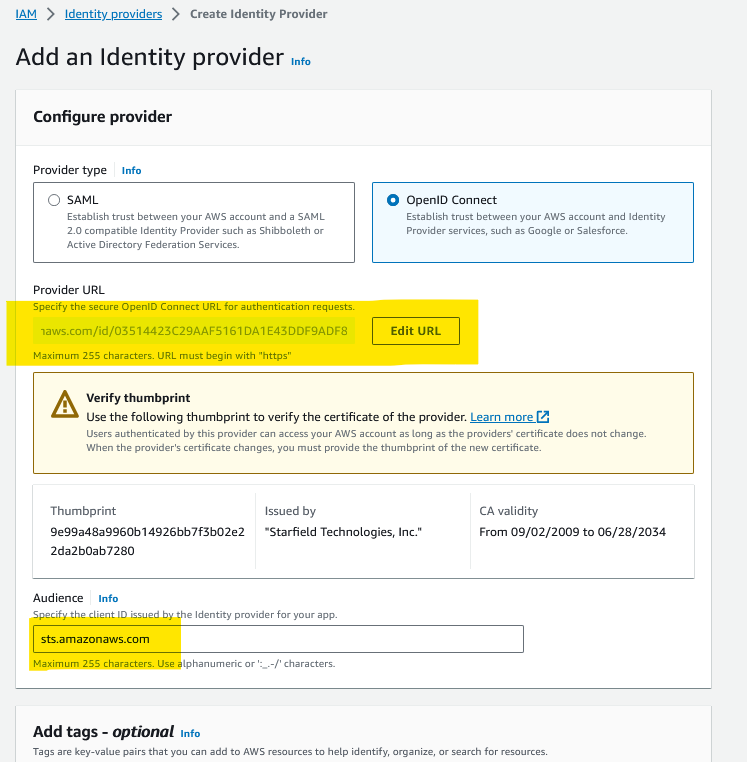
Open → IAM Console → Identity providers → paste openID Connect provider URL → select openID Connect → provider URL → Get thumbprint → add audience.
As show in below figure
Create load balancer controller policy and load balancer trust policy.
-
Create an IAM policy.
-
Download an IAM policy for the AWS Load Balancer Controller that allows it to make calls to AWS APIs on your behalf.
-
curl -O https://raw.githubusercontent.com/kubernetes-sigs/aws-load-balancer-controller/v2.5.4/docs/install/iam_policy.json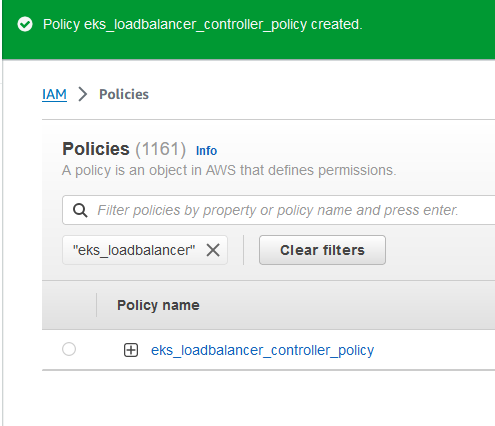
2.Create an IAM policy using the policy downloaded in the previous step.
Create IAM role for load balancer controller
-
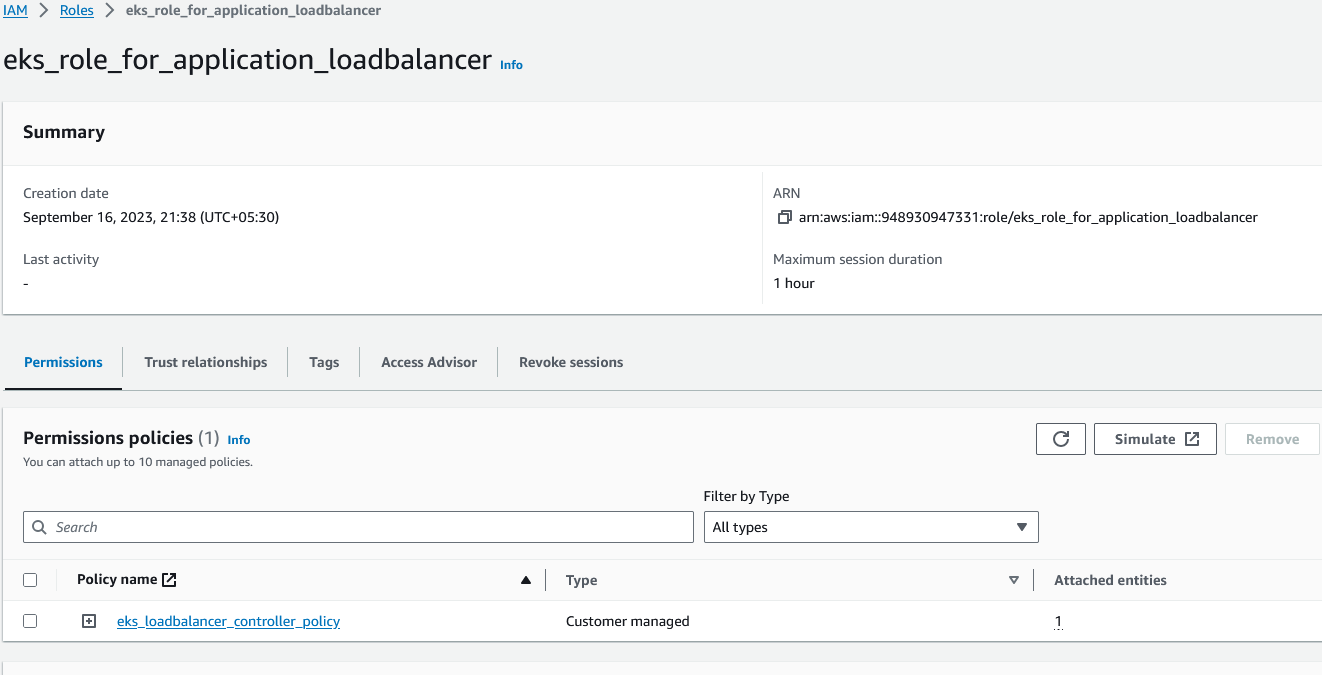
Create an IAM role. Create a Kubernetes
service accountnamedaws-load-balancer-controllerin thekube-systemnamespace for the AWS Load Balancer Controller and annotate the Kubernetes service account with the name of the IAM role.-
Attach policy that you have created in previous step.
-
Add the below code to
trust relationshipsand replace with your<accountId>and<oidcId>ensure the correct value.
As shown in the below figure.{ "Version":"2012-10-17", "Statement":[ { "Effect":"Allow", "Principal":{ "Federated":"arn:aws:iam::<accountId>:oidc-provider/oidc.eks.us-east-1.amazonaws.com/id/<oidcId>" }, "Action":"sts:AssumeRoleWithWebIdentity", "Condition":{ "StringEquals":{ "oidc.eks.<region>.amazonaws.com/id/<oidcId>:aud":"sts.amazonaws.com", "oidc.eks.<region>.amazonaws.com/id/<oidcId>:sub":"system:serviceaccount:kube-system:aws-load-balancer-controller" } } } ] }
-
Create service account.
1.Create the Kubernetes service account on your cluster. The Kubernetes service account named aws-load-balancer-controller is annotated with the IAM role that you created named AmazonEKSLoadBalancerControllerRole.
cat >aws-load-balancer-controller-service-account.yaml <<EOF
apiVersion: v1
kind: ServiceAccount
metadata:
  labels:
    app.kubernetes.io/component: controller
    app.kubernetes.io/name: aws-load-balancer-controller
  name: aws-load-balancer-controller
  namespace: kube-system
  annotations:
    eks.amazonaws.com/role-arn: arn:aws:iam::<accountId>:role/<eks_role_for_application_loadbalancer>
EOF
replace with your <accountId123> and <eks_role_for_application_loadbalancer>.
kubectl apply -f aws-load-balancer-controller-service-account.yaml2.Install the AWS Load Balancer Controller using Helm V3
-
Add the eks-charts repository.
-
Install load balancer controller using helm. using below commands
helm repo add eks https://aws.github.io/eks-charts -
Update your local repo to make sure that you have the most recent charts.
helm repo update eks -
Apply the ingress.yaml
helm install load balancer
helm install aws-load-balancer-controller eks/aws-load-balancer-controller \
  -n kube-system \
  --set clusterName=<clustername> \
  --set serviceAccount.create=false \
  --set serviceAccount.name=aws-load-balancer-controller
add your <clustername>.
3.Verify that the controller is installed.
kubectl get deployment -n kube-system aws-load-balancer-controllerAn example output is as follows.
NAME                           READY   UP-TO-DATE   AVAILABLE   AGE
aws-load-balancer-controller   2/2     2            2           84s
Create alb ingress for external loadbalancer
ex:
apiVersion: networking.k8s.io/v1
kind: Ingress
metadata:
  name: eks-alb-public-ingress
  namespace: istio-system
  annotations:
    #kubernetes.io/ingress.class: alb
    alb.ingress.kubernetes.io/scheme: internet-facing
    #alb.ingress.kubernetes.io/target-type: ip
    alb.ingress.kubernetes.io/healthcheck-path: /healthz/ready
    alb.ingress.kubernetes.io/healthcheck-port: status-port
    alb.ingress.kubernetes.io/healthcheck-interval-seconds: "30"
    alb.ingress.kubernetes.io/healthy-threshold-count: "3"
    alb.ingress.kubernetes.io/unhealthy-threshold-count: "3"
    alb.ingress.kubernetes.io/loadbalancer: istio-public-alb
    alb.ingress.kubernetes.io/backend-protocol: HTTPS
    alb.ingress.kubernetes.io/ssl-policy: ELBSecurityPolicy-FS-1-2-Res-2020-10
    alb.ingress.kubernetes.io/listen-ports: '[{"HTTP": 80}, {"HTTPS":443}]'
    alb.ingress.kubernetes.io/actions.ssl-redirect: '443'
    alb.ingress.kubernetes.io/certificate-arn: arn:aws:acm:ap-south-1:948930947331:certificate/b2ab6c06-f3d4-4658-9dee-172b28b86e8e
  labels:
    ingress.kind: external
    istio: istio-ingressgateway
spec:
  ingressClassName: alb
  rules:
  - host: "*"
  - http:
      paths:
      - backend:
          service:
            name: ssl-redirect
            port:
              name: use-annotation
        path: /
        pathType: Prefix
      - backend:
          service:
            name: istio-ingressgateway
            port:
              number: 15021
        path: /
        pathType: Prefix
      - backend:
          service:
            name: istio-ingressgateway
            port:
              number: 443
        path: /
        pathType: Prefix