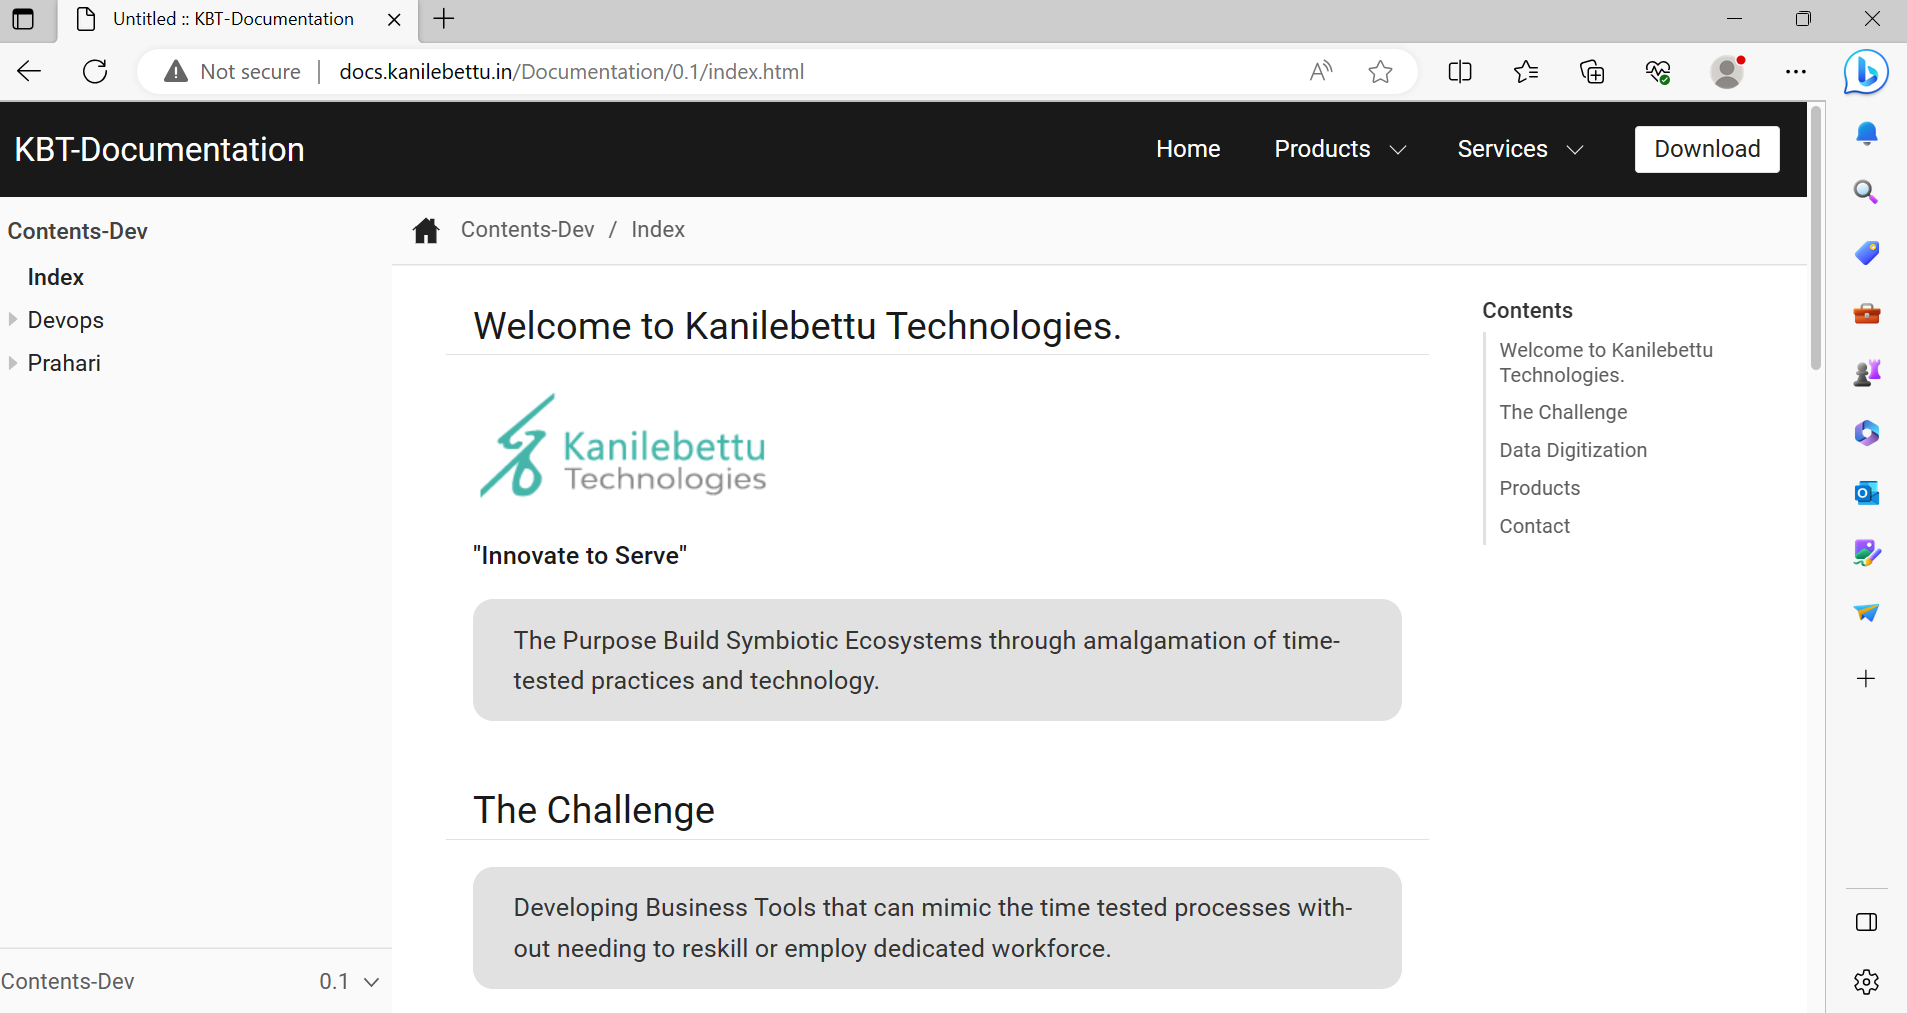
Hosting a Static Website using Antora, Amazon S3, and Route 53
Introduction
Antora is a static site generator designed specifically for documentation websites. It allows you to create and manage documentation using AsciiDoc, a lightweight markup language.
Work Flow Daigram
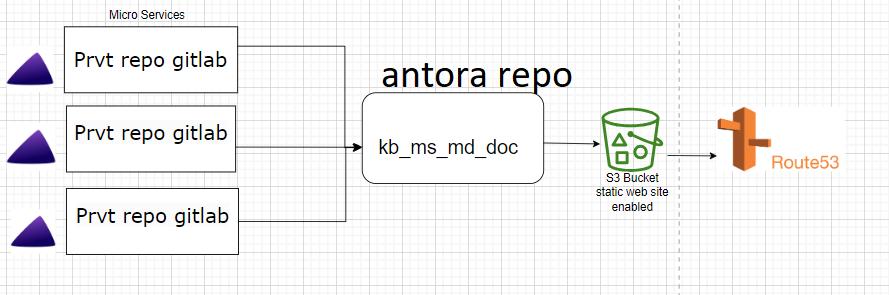
In this document, we will guide you through the process of hosting a static website generated by Antora usingGitlab CI, Amazon S3 and Route 53.
-
Setting up an S3 bucket
-
Setup antora-playbook.yml
-
Uploading the Antora Website to the S3 Bucket using
.gitlabci.yamlfile. -
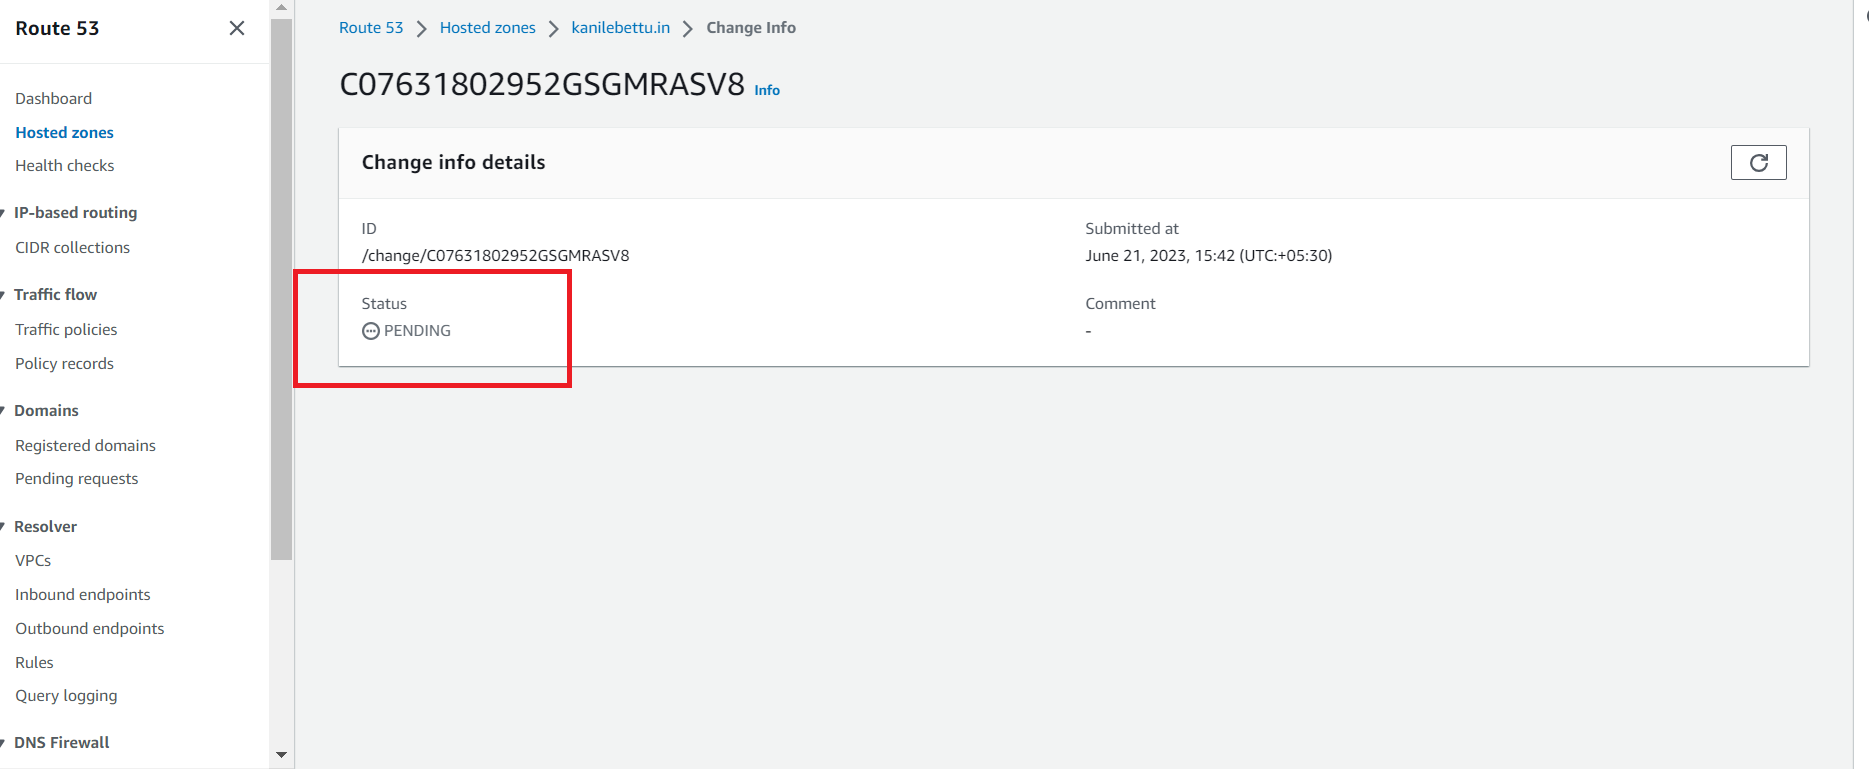
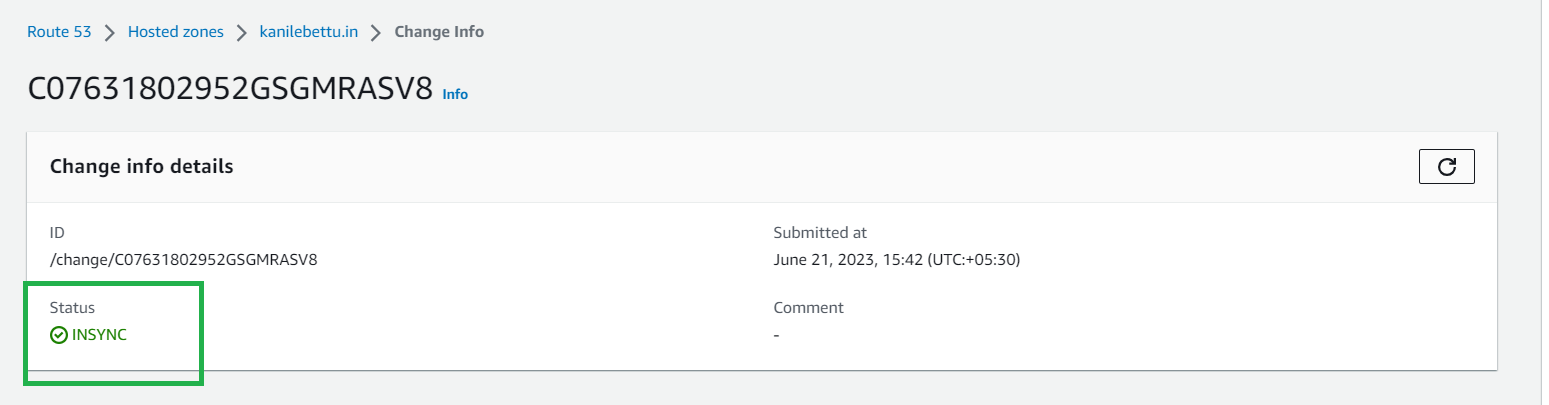
Configuring Route 53 for DNS management
-
Associating a domain name with the S3 bucket
Prerequisites
Before you begin, ensure that you have the following:
-
For Antora folder Structure need to fallow as per documentation.
-
An AWS account With Full Permissions OF
Amazons3FullAccessandAmazonRoute53FullAccessandAdministratorto Generating AWS Access Key and Secret Key.
Step 1: Setting up an S3 Bucket
-
To set up S3 Bucket, refer to the page static website hosting using AWS S3 Bucket.
Step 2: Setup antora-playbook.yml
-
Here’s an example of how you can structure the
playbook.ymlfile.
ex:
site:
  title: KBT-Documentation
  url: https://docs.kanilebettu.in
start_page: Documentation::index.adoc-
Site: Defines the general settings for your documentation site, including the title, URL, and the start page.
content:
  sources:
    - url: https://gitlab.com/merco_ecosystem/kb_ms_md_doc.git
      branches: feature/1/manu
      start_path: docs-dev
    - url: https://gitlab.com/merco_ecosystem/kb_ms_md_doc.git
      branches: feature/1/manu0
start_path: docs-so-
Content: Specifies the source repository URL and path for Documentation.
asciidoc:
  attributes:
    Devops_docs: true
    idprefix: custom-prefix
idseparator: "-"-
Attributes: Specifies the pages or content files to include in your documentation.You can adjust the source file and attributes as per your project structure.
ui:
  bundle:
    url: https://gitlab.com/antora/antora-ui-default/-/jobs/artifacts/HEAD/raw/build/ui-bundle.zip?job=bundle-stable #https://github.com/couchbase/docs-ui/releases/download/prod-166/ui-bundle.zip
snapshot: true-
UI: we’re using the default theme from the Antora repository. You can replace the URL with your own theme repository if you have a custom theme.
output:
  clean: true
dir: ./public-
output: The output of the
playbook.ymlfile specifies that the build process will produce a clean output and store it in the./publicdirectory.
Step 3: Uploading the Antora Website to the S3 Bucket using .gitlabci.yaml file.
-
Create a .gitlab-ci.yml file in the root directory of your Antora documentation project. This file will define the CI/CD pipeline for deploying the website to the S3 bucket.
-
The provided
.gitlab-ci.ymlfile describes a GitLab CI/CD pipeline with two stages:buildanddeploy_to_S3.
-
stages:
  - build
- deploy_to_S3-
The
buildstage uses theantora/antora:latestDocker image, which contains the necessary tools to build the Antora website. The script section executes the antora command, passing the--git-credentials-path,playbook.yml, --fetch, and--stacktraceoptional. This command triggers the Antora build process, pulling content from a Git repository specified in theplaybook.ymlfile.
build:
  stage: build
  image: antora/antora:latest
  script:
    - antora --git-credentials-path=./.git-credentials playbook.yml --fetch --stacktrace
  artifacts:
    paths:
- ./public-
The deploy_to_S3 stage uses the
registry.gitlab.com/gitlab-org/cloud-deploy/aws-base:latestDocker image, which includes the AWS CLI tools for interacting with Amazon S3.
deploy_to_S3:
  stage: deploy_to_S3
  image: registry.gitlab.com/gitlab-org/cloud-deploy/aws-base:latest
  script:
    - aws --version
    - aws configure set aws_access_key_id $AWS_ACCESS_KEY_ID
    - aws configure set aws_secret_access_key $AWS_SECRET_ACCESS_KEY
    - aws configure set default.region $AWS_DEFAULT_REGION
- aws s3 cp ./public s3://docs.kanilebettu.in/ --recursive-
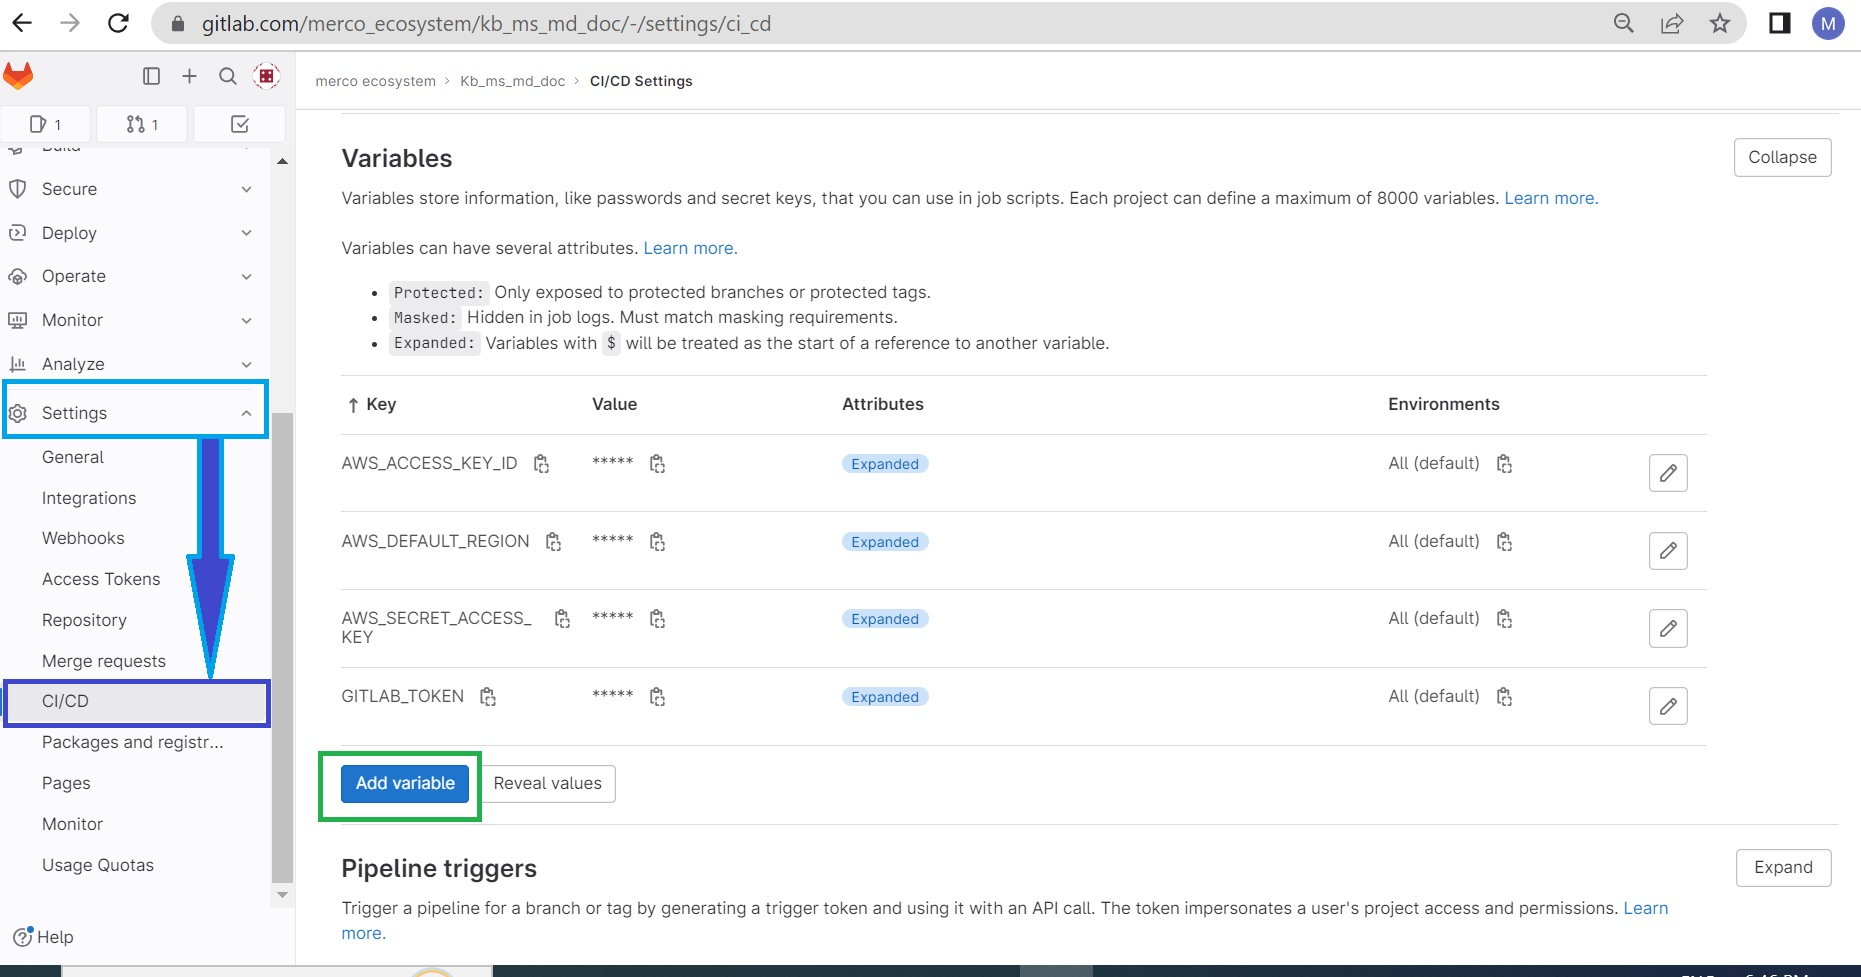
The AWS access key ID, secret access key, and default region are configured using the
aws configurecommand and the values stored in GitLab CI/CD variables($AWS_ACCESS_KEY_ID, $AWS_SECRET_ACCESS_KEY, and $AWS_DEFAULT_REGION). -
Refer to the page how to generate AWS access key and secret key.
-
Add The environment variable in gitlab variable section. as show in below figure.
-
The
aws s3 cpcommand is used to recursively copy the contents of the./publicdirectory to the specified S3 bucket(s3://docs.kanilebettu.in/). The--recursiveflag ensures that the entire directory structure is replicated in the bucket. -
Once the upload is complete, note the Endpoint URL displayed on the bucket’s overview page.)(Optional).
Step 4: Associating a Domain Name with the S3 Bucket
-
you can access your S3 bucket using a custom domain name instead of the default S3 bucket URL.
-
You already know How to set up the bucket for static website hosting using S3 in Step 1.
Step 1: Note the S3 Bucket Endpoint
-
In the S3 bucket’s management console, select the bucket again.
-
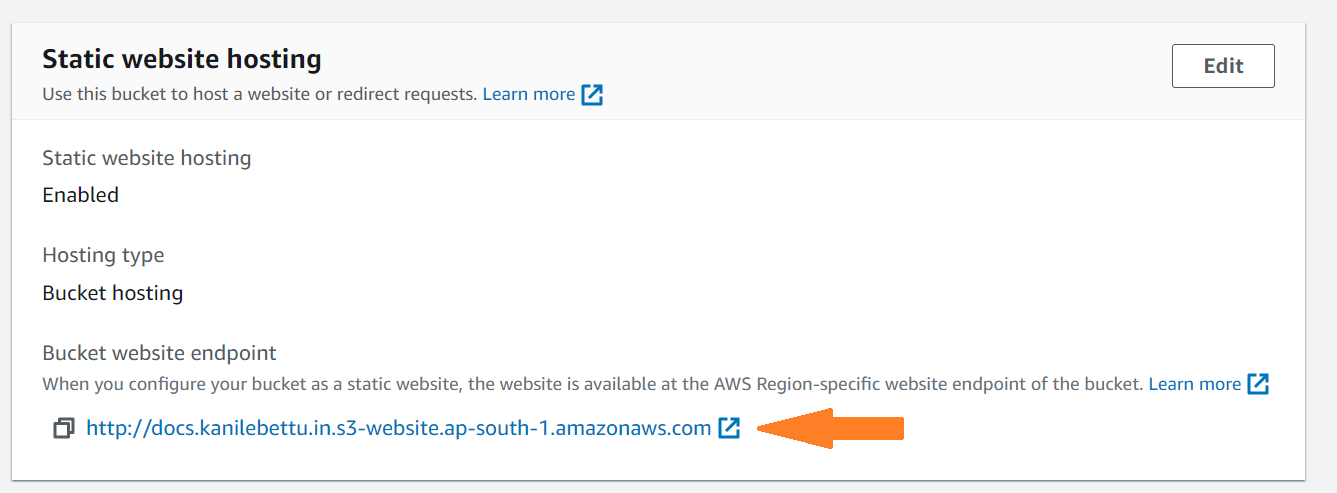
Click on the "Properties" tab and scroll down to find the "Static website hosting" card.
-
Note the "Endpoint" URL mentioned in the "Static website hosting" section. It will be something like
"http://your-bucket-name.s3-website-region.amazonaws.com".
Step 2: Access DNS Management Settings
-
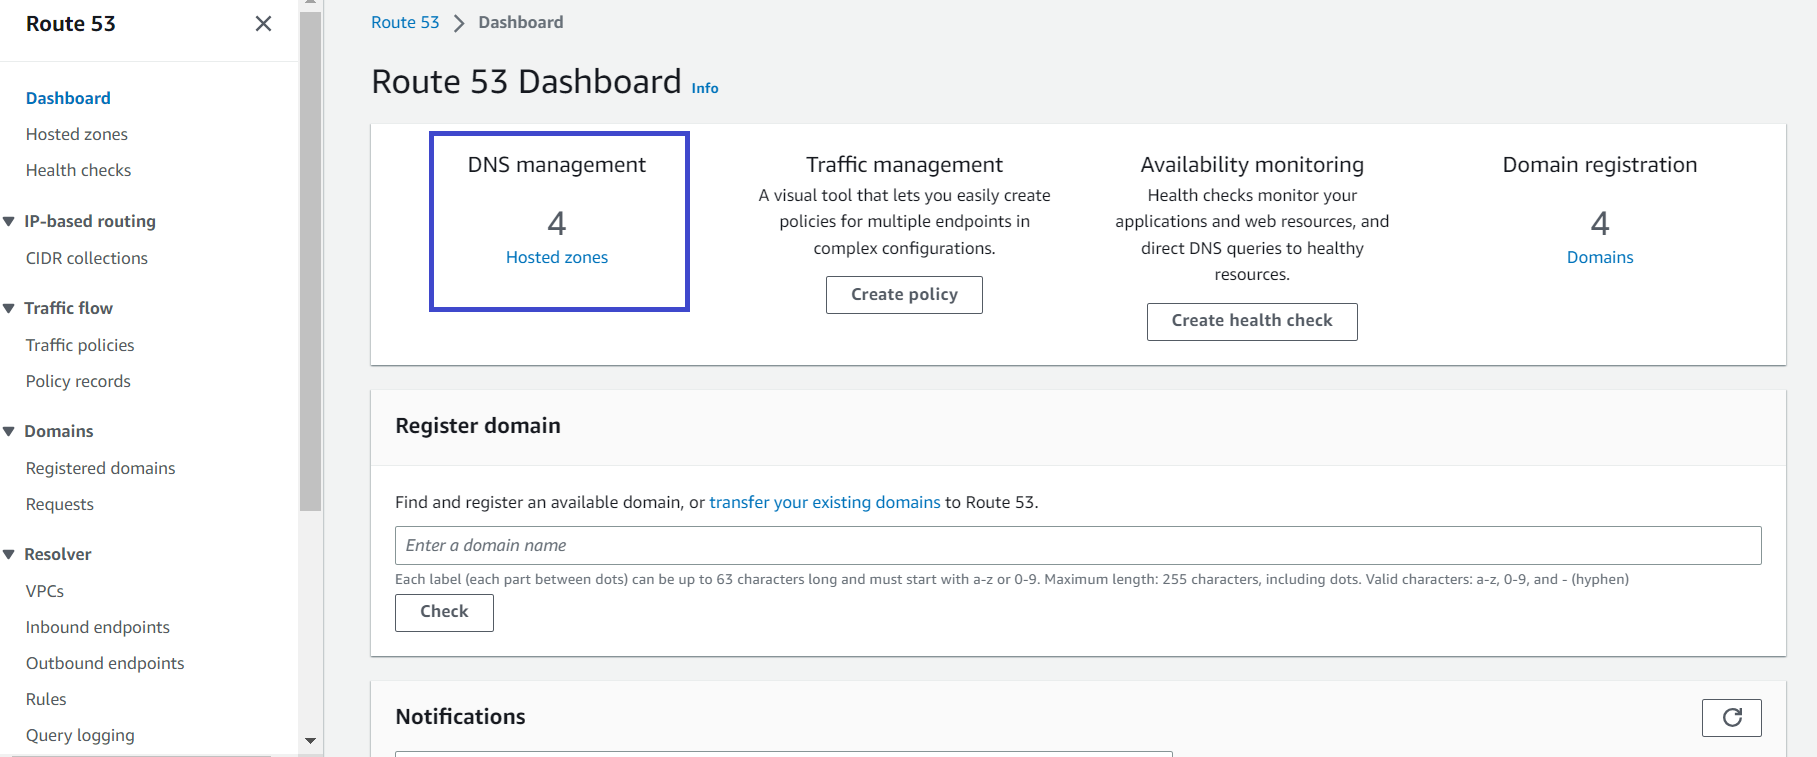
Access the DNS management settings for your registered domain name.
-
This can usually be done through the website of the domain registrar where you purchased the domain.
-
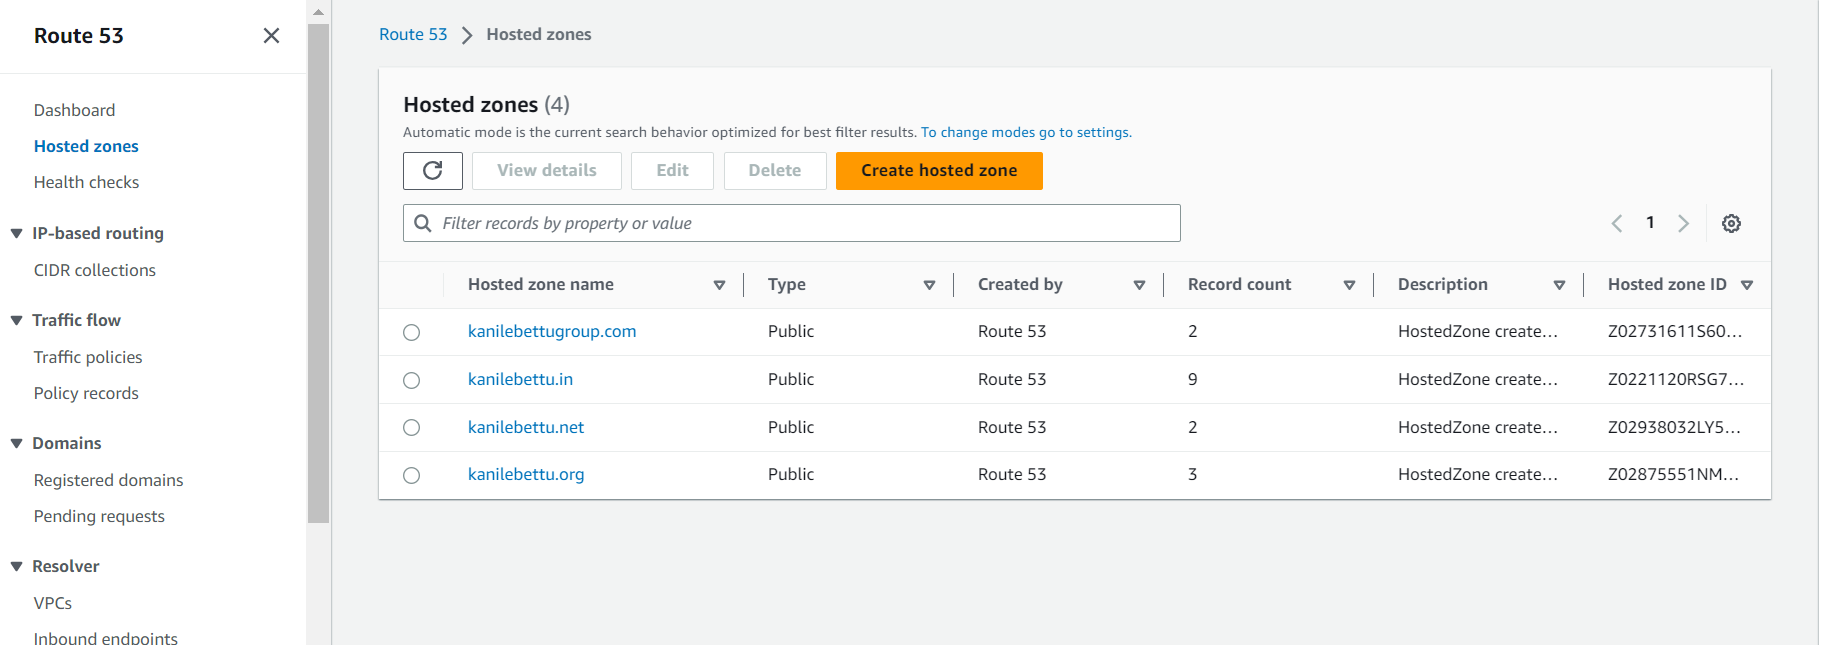
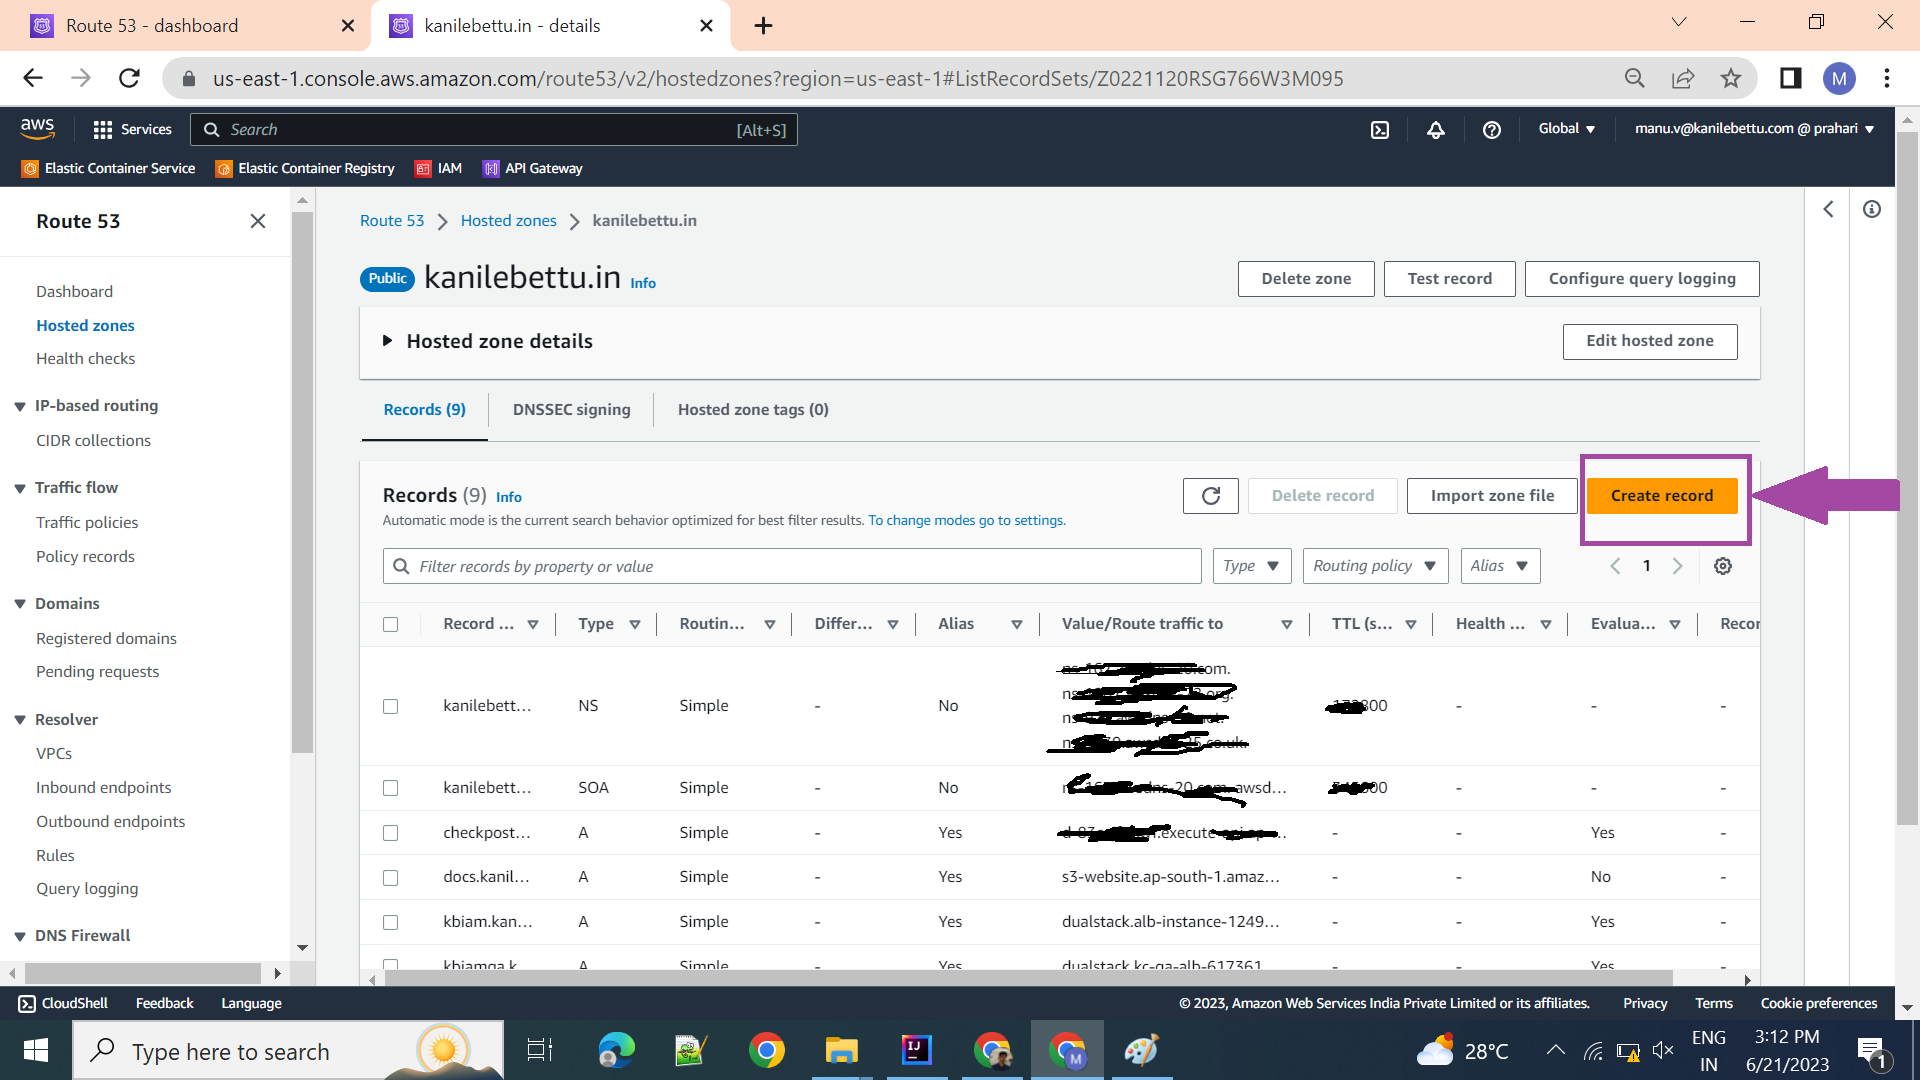
Create your hosted zone or select exiting domain name and create Record.
Step 3: Create a A Record
-
In the DNS management settings, locate the option to create DNS records. Create a new
A record.
-
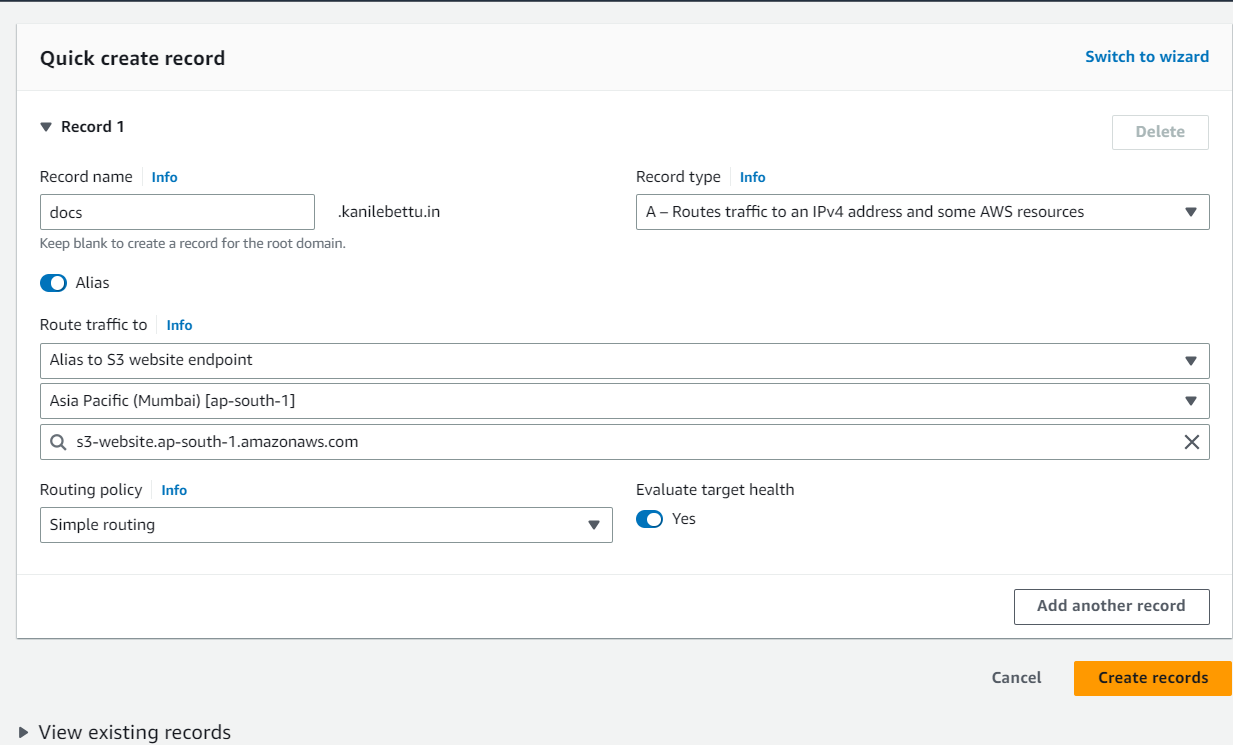
In the record details, enter the desired subdomain
ex: docs.kanilebettu.inor leave it blank for the root domain.
-
Set the value of the A record to the S3 bucket endpoint noted in Step 1. Save the DNS record.