Setting Keycloak as an authentication provider in Grafana (SSO)
Introduction
Keycloak OAuth2 authentication allows users to log in to Grafana using their Keycloak credentials.
1. Keycloak Settings related to the grafana.
1.2. Created a new client named kbt-internal-communication inside the realm kbt-developers. Enter the details as below and click on save.
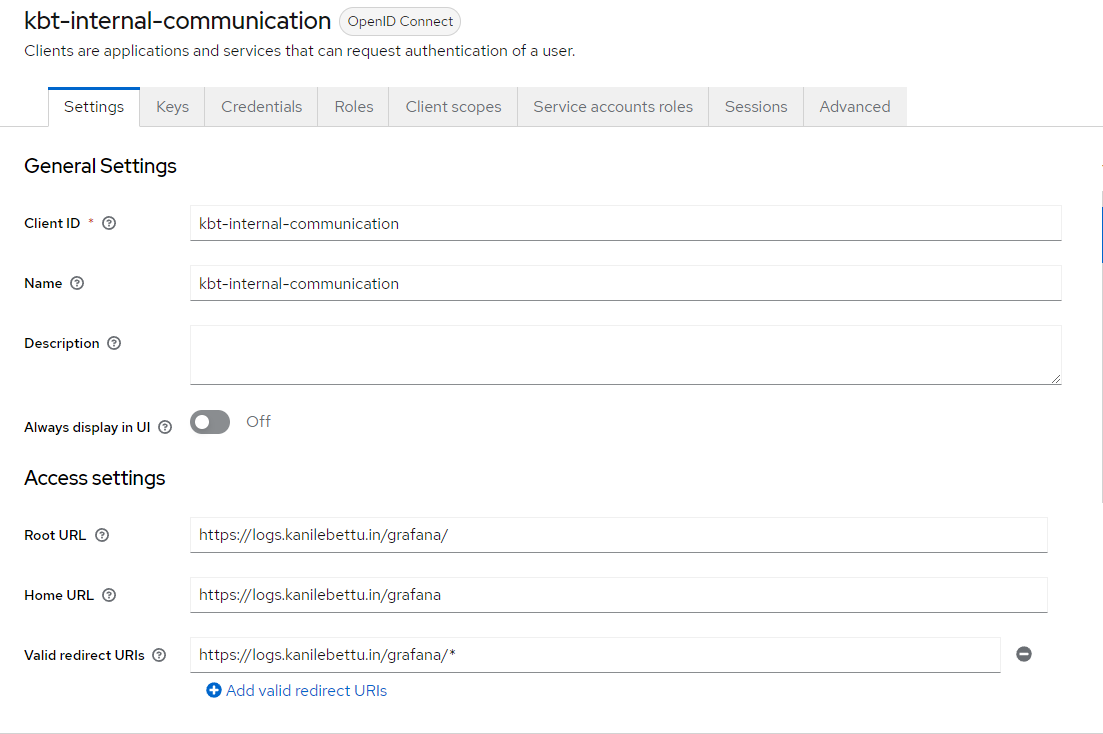
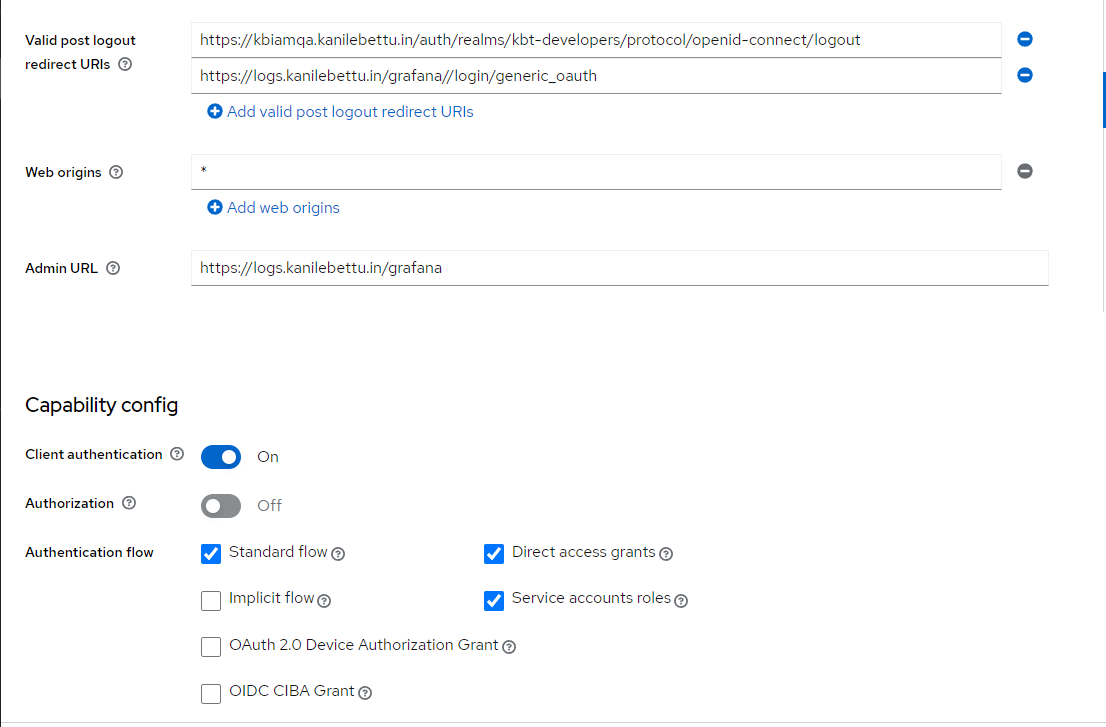
Figure 1. client settings on keycloak for grafana
1.3. Turn On client authentication and select theme as kblogin for login screen.
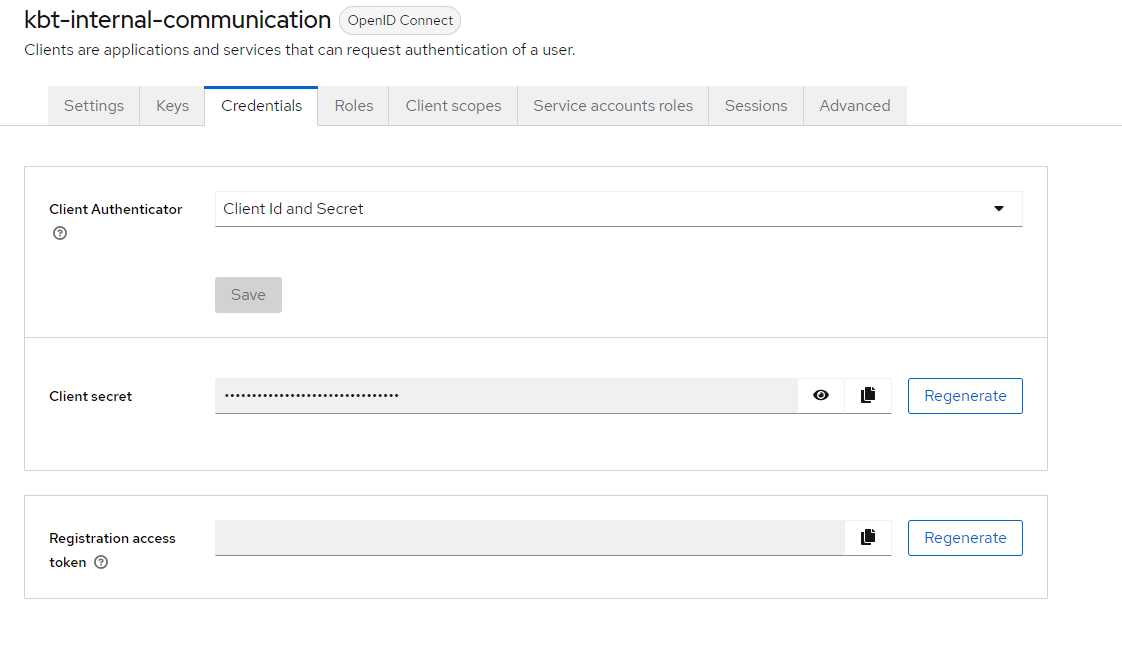
Figure 2. client_cred
1.4. Created a client scope named grafana with the follwing details and click on save.
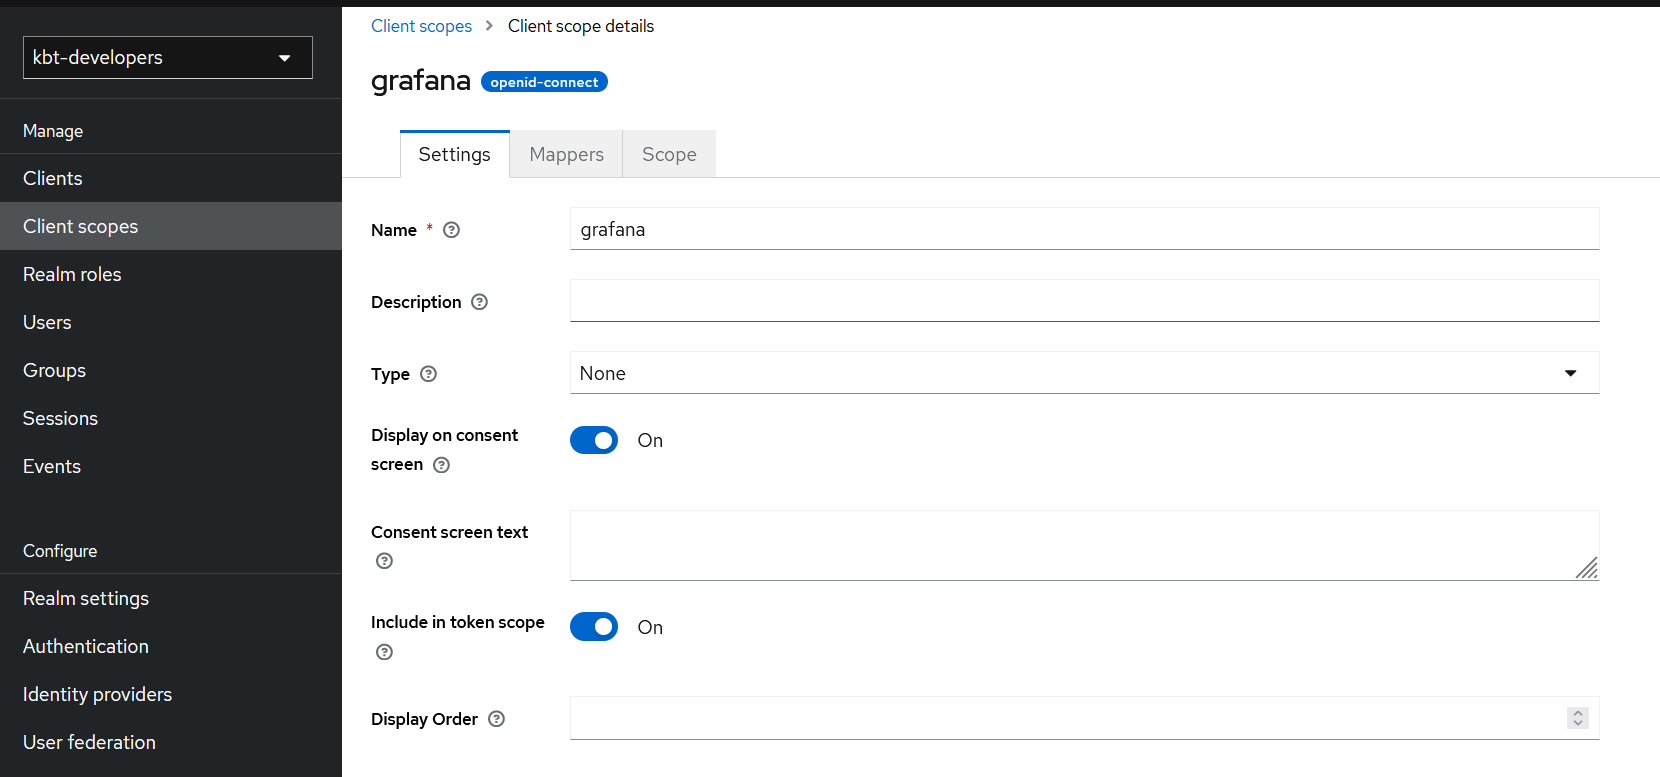
Figure 3. client_scope
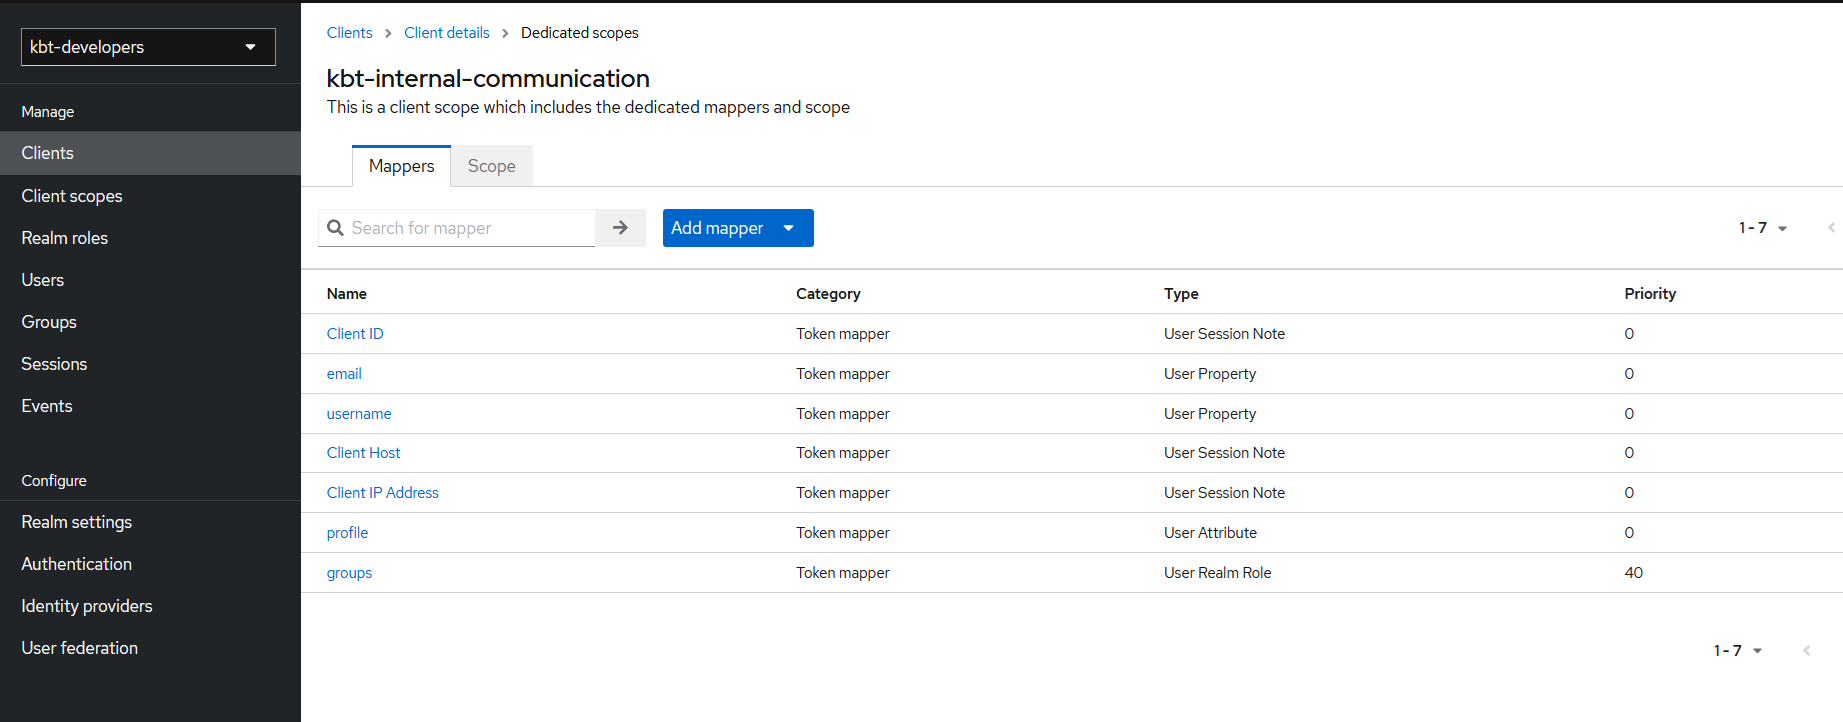
1.5. On mappers section , Click on Add mapper By configuration and select User Realm Role. Inside that give token claim name as roles and click on save.
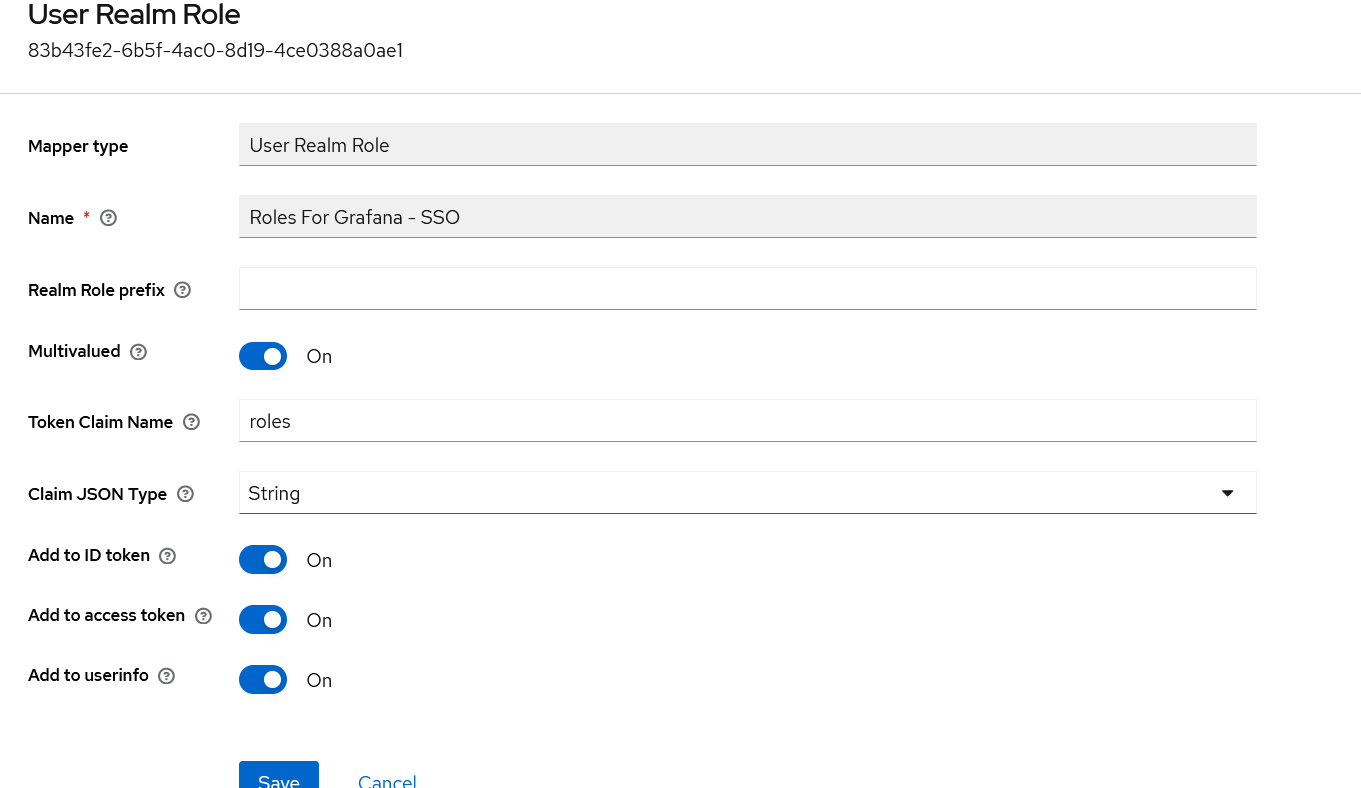
Figure 4. cient_scope_mappers
1.6. Create a realm roles for admin,editor and viewer for giving permissions to the users.
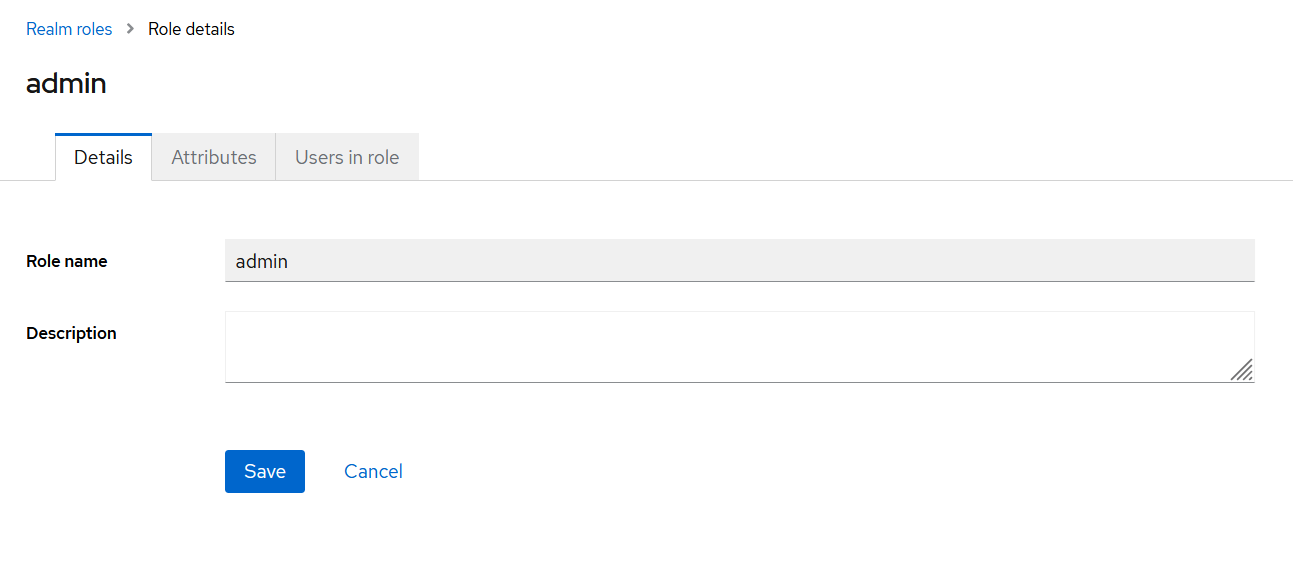
Figure 5. realm_roles
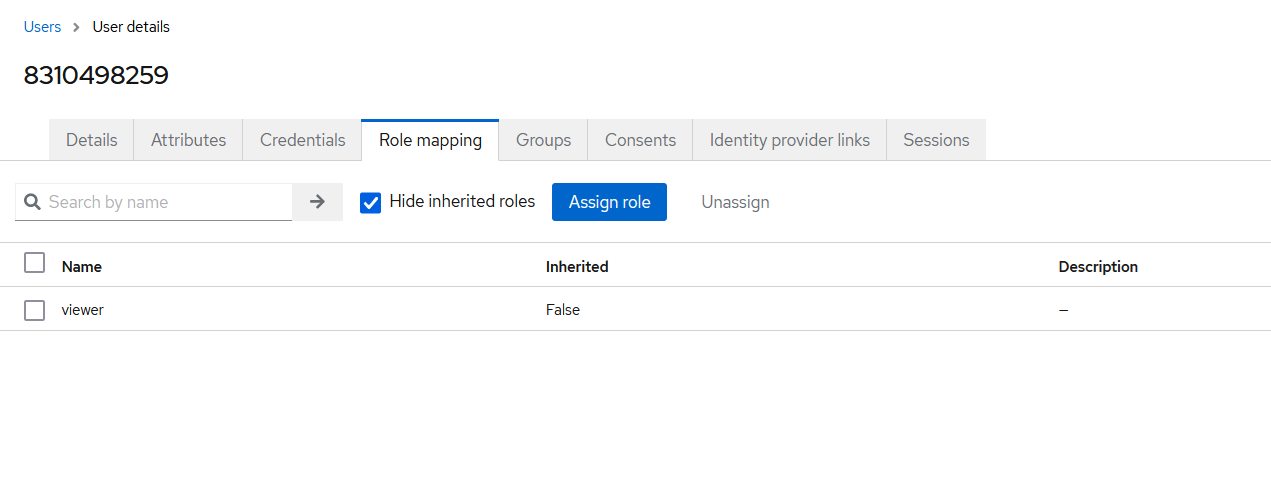
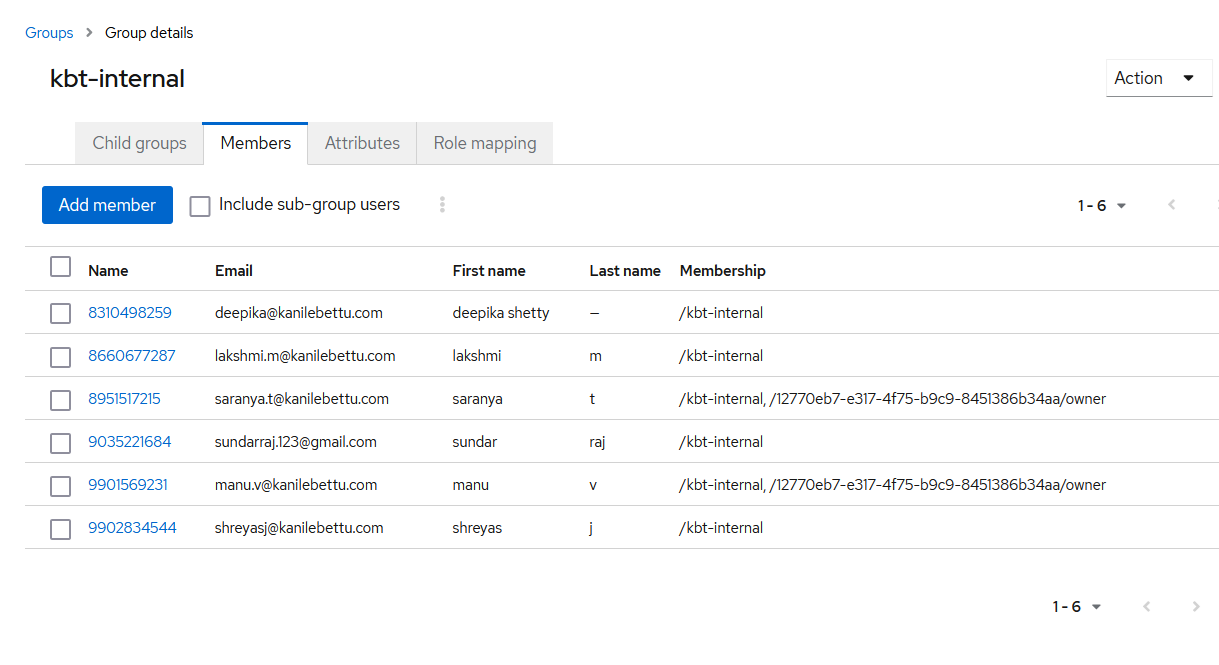
1.7. Created three users and given different permission to different users. Click on save.
Figure 6. users
2. Task definition for running grafana.
2.1. Creation of task definition on the ECS EC2 cluster with the follwing environment variables.
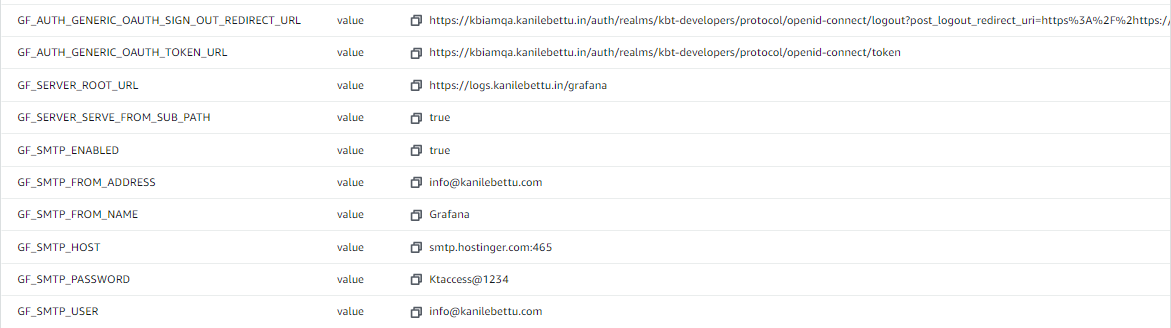
Figure 8. task_env_var
2.2. Created a service for the task definition and route target for /grafana/login on Internet-facing load balancer to access the UI.
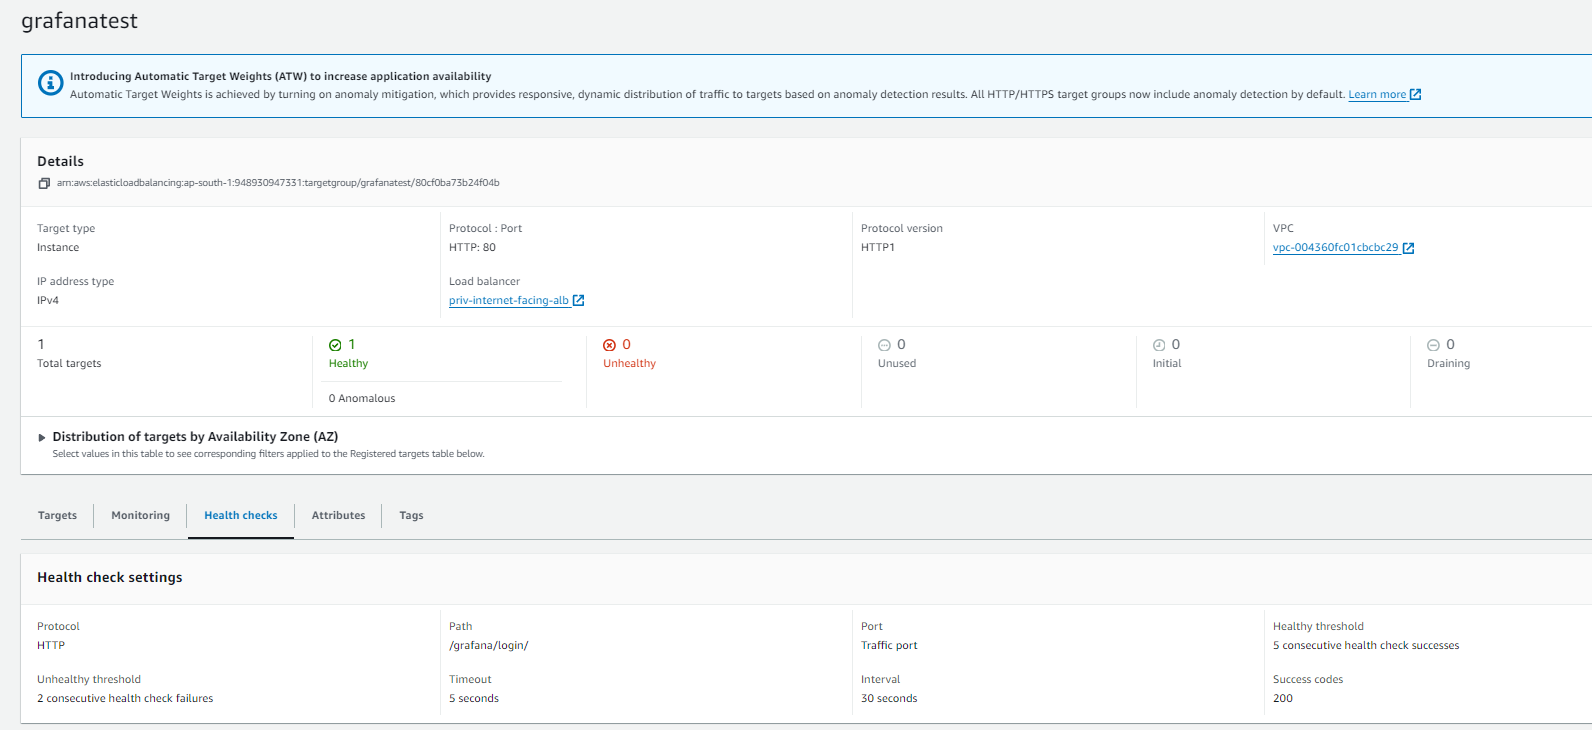
Figure 9. target_group
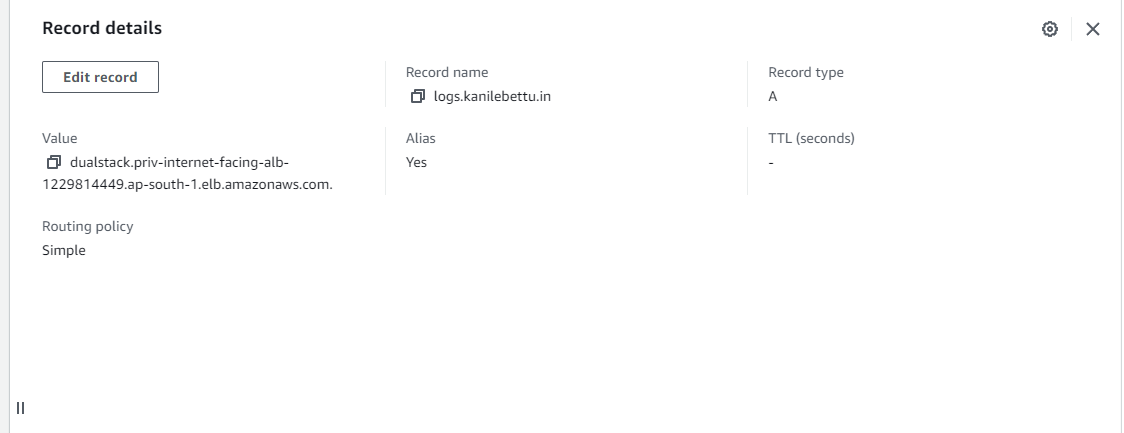
2.4. Access the URL https://logs.kanilebettu.in/grafana/ & sign in with keycloak OAuth & give credentials as of on step:1.8.
Note: If the user is having the specific role like admin/editor/viewer only he can access the grafana, otherwise he can’t able to access.
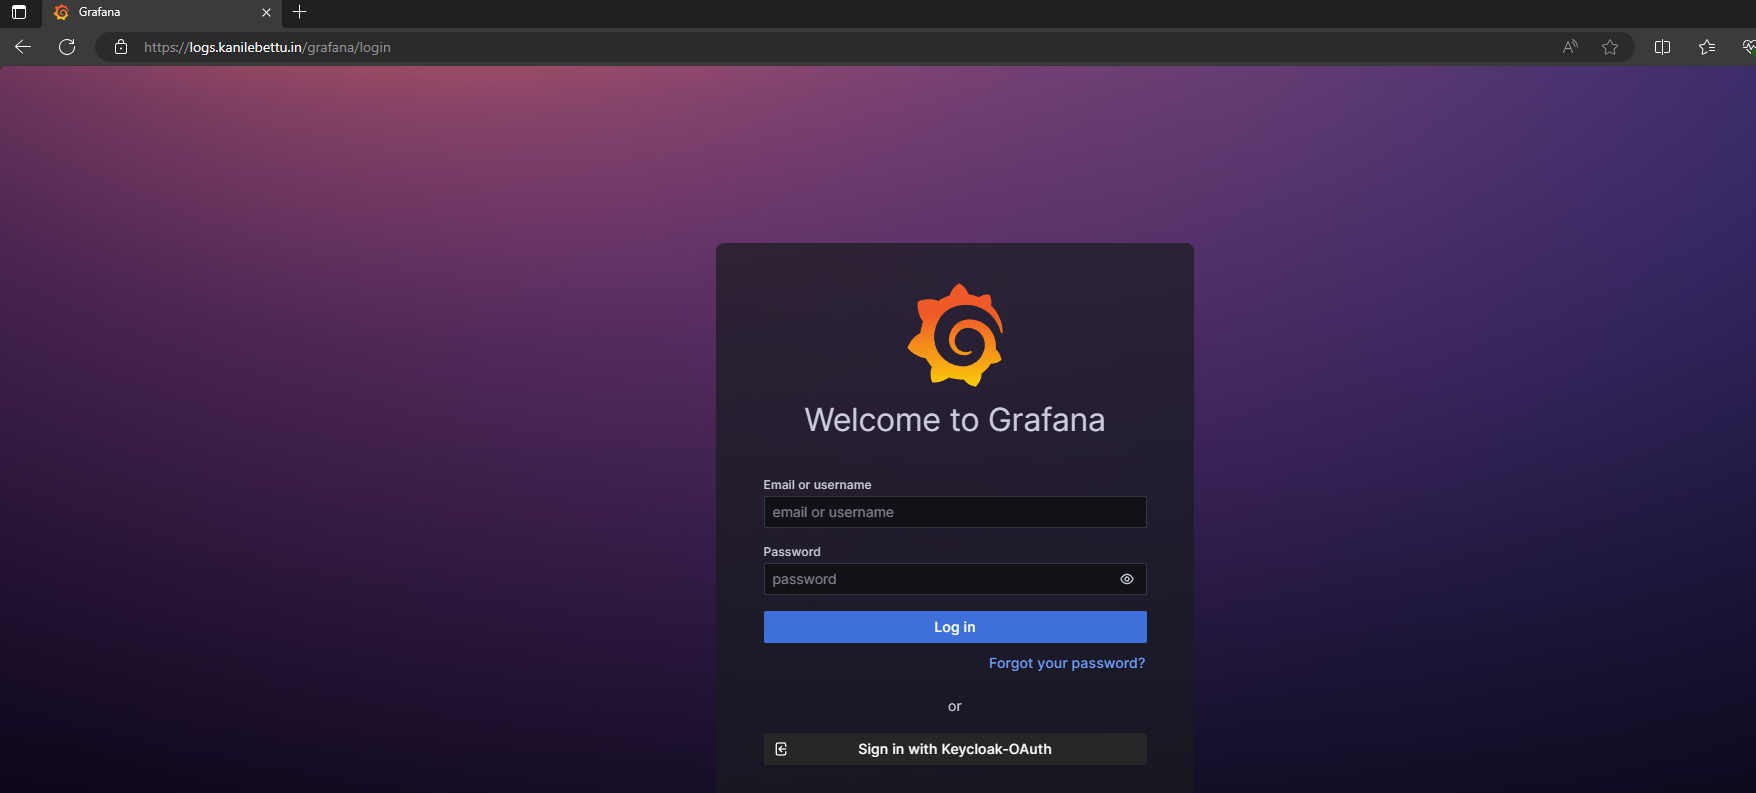
Figure 11. grafana_login